~ 1948 Supro Lap Steel Refurbishment ~
Page 12; Preparing fretboard and neck for gluing:
The purpose of the method I will use to install the fretboard is to make it reasonably easy to remove without damaging the Steel's MOTS covering nor the fretboard, should that be needed for any reason in the Steel's future. Non-permanant attachment of parts is standard practice for guitar building and repair, whenever possible and feasible.
Supro's original method of attaching these plastic fretboards was to screw them down; BUT my customer has stated that he is not a stickler for all originality and left the decision for departing from originality up to me, and; The fretboard looks so nice without screws, and comparatively "makeshift" with screws, that I decided to glue it down in a manner that can be removed reasonably easy, and screws can still be installed anytime in the Steel's future should an owner desire an all original appearance.
The method I am using is applying masking tape to the Steel's old fretboard neck surface, and to the underside of the new fretboard, and gluing the 2 taped surfaces together, in effect making a 2 sided tape that will behave in the manner I desire. That way the new fretboard can be teased to release should someone in the future need to remove it for any number of reasons.
The masking tape will soak up just enough of the glue to stabilize the tape while it's under assembly pressure shown on these webpages. The glue I will use holds extremely well, is waterproof, and shrinks considerably as it dries; So the tape and glue will be thin enough to only minimlly lift the fretboard from the surface of the neck, and will not show any tape or glue at the edges of the fretboard.
------------ oOo ------------
Thin / light masking tape is applied to the original fretboard, aligning the tape leaving a 1/8" margin so that the tape will not show under the fretboard once it's installed. A second layer of tape is then applied for thickness and in a manner to provide an even and level surface upon which to later apply the glue and new fretboard's masking tape backing. 2 layers of masking tape are then applied to the fretboard in the same manner to match the tape on the old fretboard.


With 4 layers of paper towel to protect the new fretboard face, the fretboard is set into place upside down to make sure it still fits perfectly with the tape on; No bowing, warping, wobbling etc. from any tape tension.
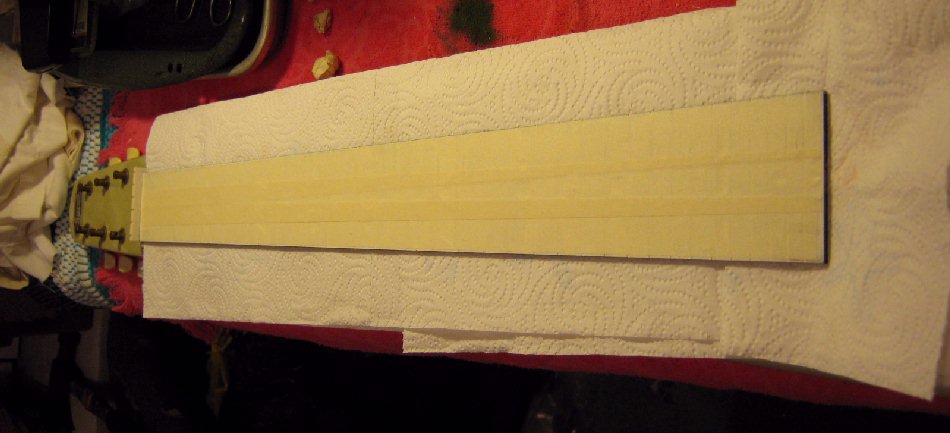
Now the fretboard is flipped over and fit tested again, and checked to make sure the taped surfaces perfectly match with no wobble (spaces) anywhere.

All is well.
Rare Earth Valco replacement magnets were put on top of the original magnets to maintain the originals fresh recharge (molecules magnetic alignment) during remaining work that might require unknown magnetic tools (drill motor, dremel, magnetized screwdrivers, etc. .... simply good practice).

See Next Page; Gluing the new fretboard to the neck >>>