Go to NEXT PAGE to see the ground wire installed and being camouflaged. |
ll Work Page 1 ll Work Page 2 ll Work Page 3 ll Work Page 4 ll Work Page 5 ll Work Page 6 ll Work Page 7 ll Schematic ll ll Work List & Progress ll Site Map ll |
ll Work Page 1 ll Work Page 2 ll Work Page 3 ll Work Page 4 ll Work Page 5 ll Work Page 6 ll Work Page 7 ll Schematic ll ll Work List & Progress ll Site Map ll |
1966 Harmony Special Addition Silhouette Silvertone model 1488. ~ Inspections, work, Info and Progress Pages ~ ~ Strings ground solution ~ ------------ oOo ------------ |
ll Work Page 1 ll Work Page 2 ll Work Page 3 ll Work Page 4 ll Work Page 5 ll Work Page 6 ll Work Page 7 ll Schematic ll ll Work List & Progress ll Site Map ll |
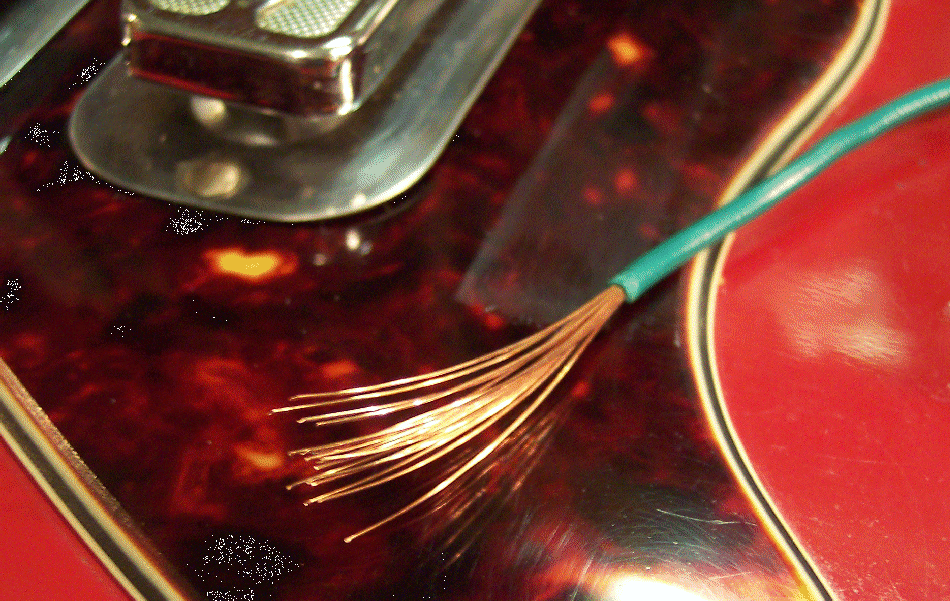
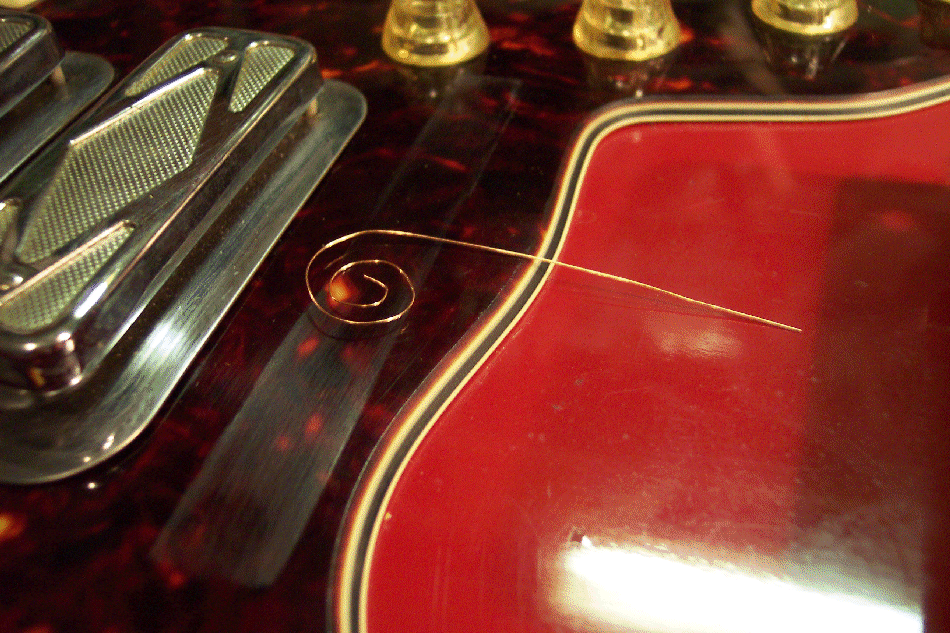
These instructions will serve to easily replace the strings ground wire in the future: 9-10-08 As said in other parts of this guitar's report; This guitar was produced without a ground wire to the strings. There is no cavity nor tunnel in the body to route a strings groundwire. There is no angle that a tunnel can be drilled to the tailpiece which is the only hardware that would communicate ground to the strings (and I cringe to think of drilling into this pristine all-original very rare guitar to proved the strings ground the new owner desires). Searching / thinking long and hard I have finally come up with the best non-destructive solution so far, that would make a ground wire the least noticeable: The pickups mounting plates are not perfectily flat, ....leaving some places with just enough space to slip a strand of wire under the grounded bezel and make contact with the bezel / ground. The bezels and pickup casings are each grounded at all times even when the pickup is turned off; Voila, an external ground source. First we have to have a very small strand of wire. I got that by pulling a single strand from a proper cut length of stranded hook-up wire. A single strand of hook-up wire will pull out of it's insulation if it's not longer than 10" or-so, by stripping back enough to grasp a strand with needle nose pliers jaws in one hand while holding the hook-up wire's insulation tube straight in the other hand: (The green wire in this pic is not part of the guitar but is simply displayed on the guitar for this picture): |
To make sure that the strand of wire will make good contact with ground, I will spiral the end of the wire, even more than this demonstration. I will also put a slight horizontal bend into the spiral when it is inserted under the bezel. I will not try to wrap the wire around the pickup post because it might become jammed or break off when the strand might need to be changed / refreshed in the future and thus become permantly stuck under the pickup where it will corrode with unknown ramifications; I want the wire to be able to be removed as easily as it is to insert it under the pickup plate / bezel. |
< |
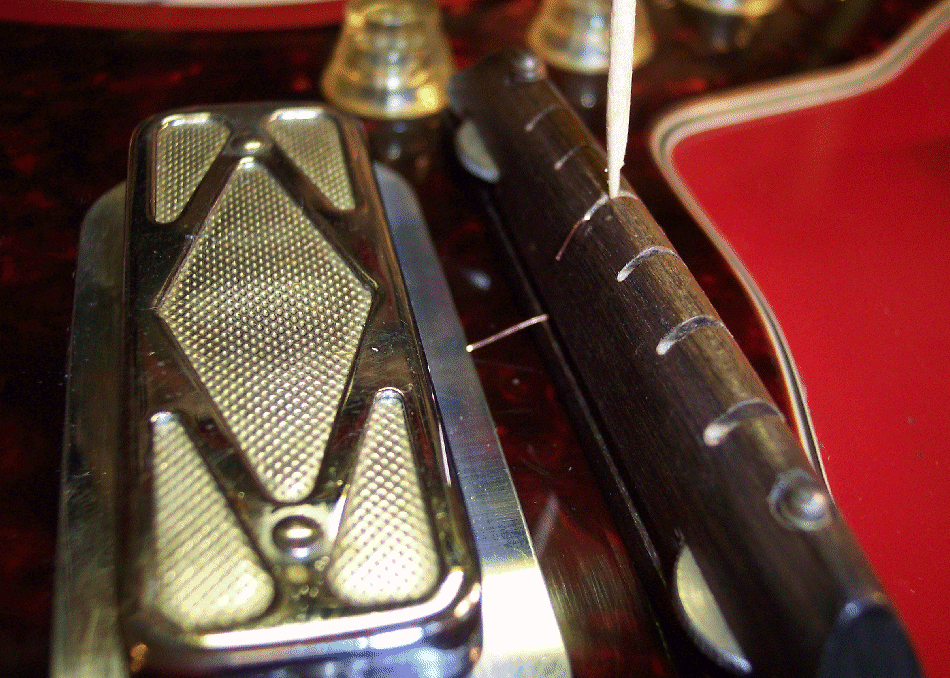
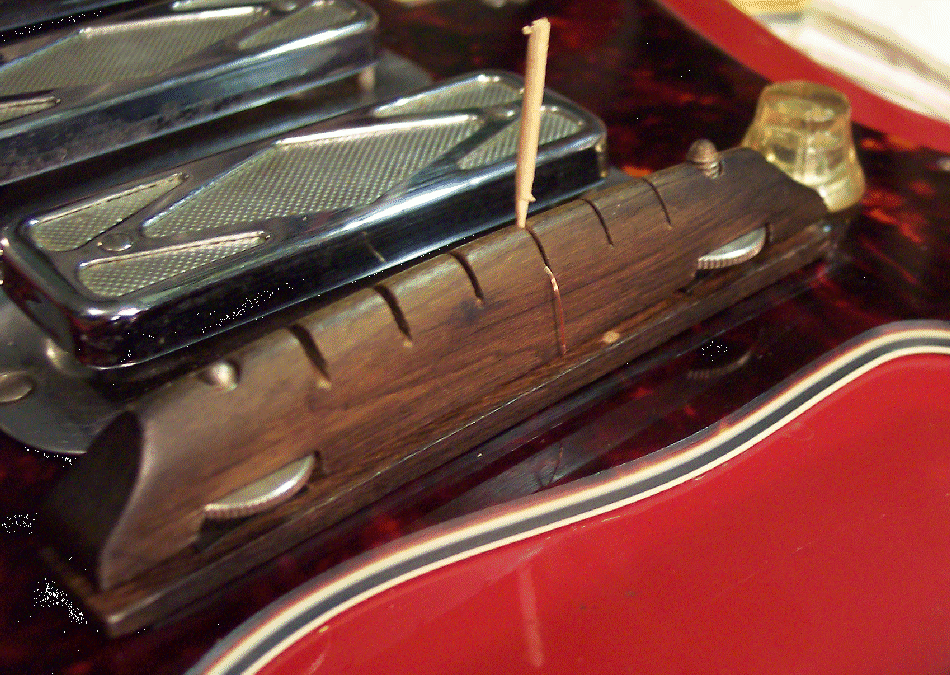
The wire will then be ran through the space between the bridge base and saddle block, then pulled up the back of the sadlle block and inserted into the 3rd string's sadlle slot. Not only does the wire fit the 3rd string slot well, but graphite in the saddle slots for operating the vibrato will also allow the string to slide over the ground wire with no ill effect upon the guitar nor upon playing. Each string's ball-end is rooted in the tailpiece so ground upon one string will communicate ground to all strings. Such a small wire will likely have to be replaced periodically as the vibrato and string vibration wear the wire strand out. Once the bridge intonation datum is determined and the bridge then installed and string height set and intoned, ....the wire can then be pressed against the countours of it's route to make it less noticeable. The guitar's strings above the wire strand will also make the strand very inconspicuous. If further camouflaging is desired, the wire strand can also be carefully loosened from it's route and painted to match the background of it's route on the pickguard and bridge. Small hobby sets of water based acrylic paints are very inexpensive and readily available at art and hobby stores. The different mix of colors of the pickguard and the bridge's wood afford camouflaging the wire a no-brainer with even an "in the ballpark" color of paint on the wire ! |
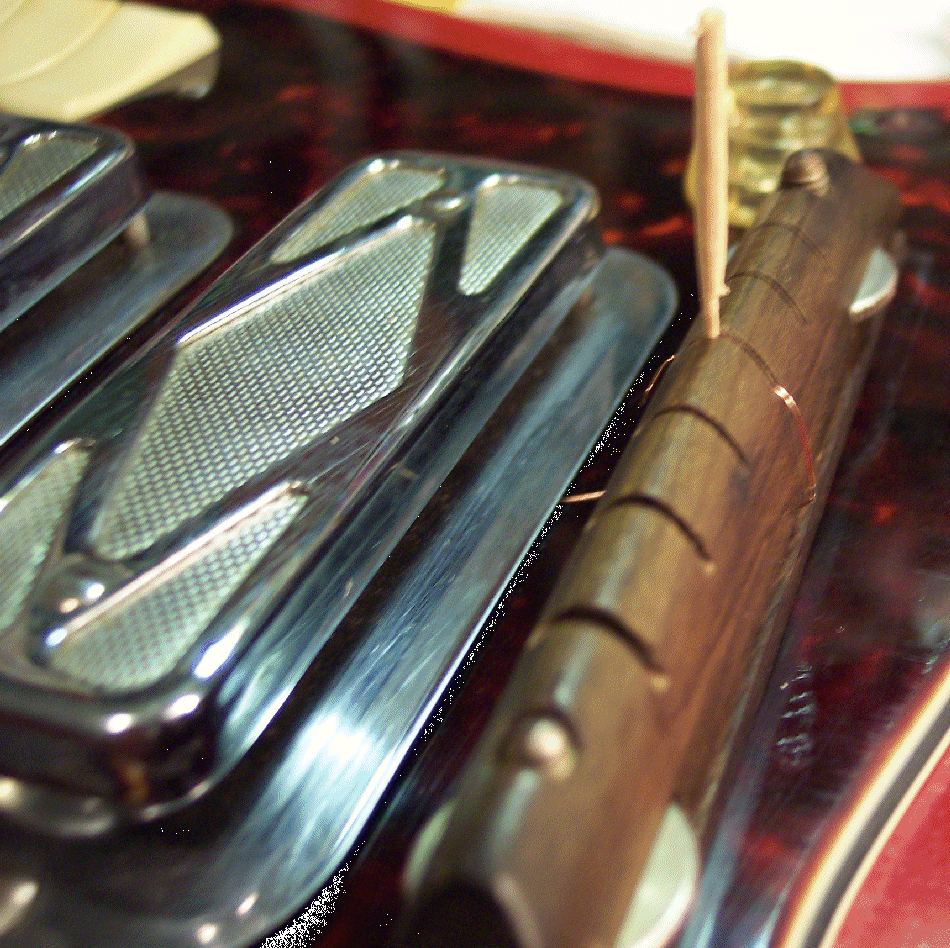
Here's a view from the back. To take these pictures of the concept, ...the toothpick is just keeping the loose wire's tension from lifting it out of the saddle slot. Were this wire even painted black and pressed flat against it's route, it would be almost invisible once the strings are on the guitar. I hope I have time to paint this wire strand when I install it; Just for the grins of seeing it almost disappear with an artist's touch ! |
Remember that these pictures are much larger than the actual objects. This back view shows quite well that if the wire were pressed flat along it's route, painted black, then streaked horizontally with brown paint (or vice-versa), a person would have to be in a "detective" mode or stumble upon seeing the wire in a very close inspection to even notice it ! |
I LIKE IT ! ! ! This will be one of the exceptionally fun parts of finishing the reassembly of this guitar; I really like it when simple solutions are finally found for difficult challenges ! Ma, break out the old jug for a little special occasion nip ! ------- oOo ------- |
ll Work Page 1 ll Work Page 2 ll Work Page 3 ll Work Page 4 ll Work Page 5 ll Work Page 6 ll Work Page 7 ll Schematic ll ll Work List & Progress ll Site Map ll |
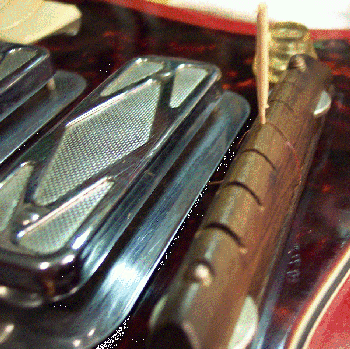
This picture is closer to actual size ! |
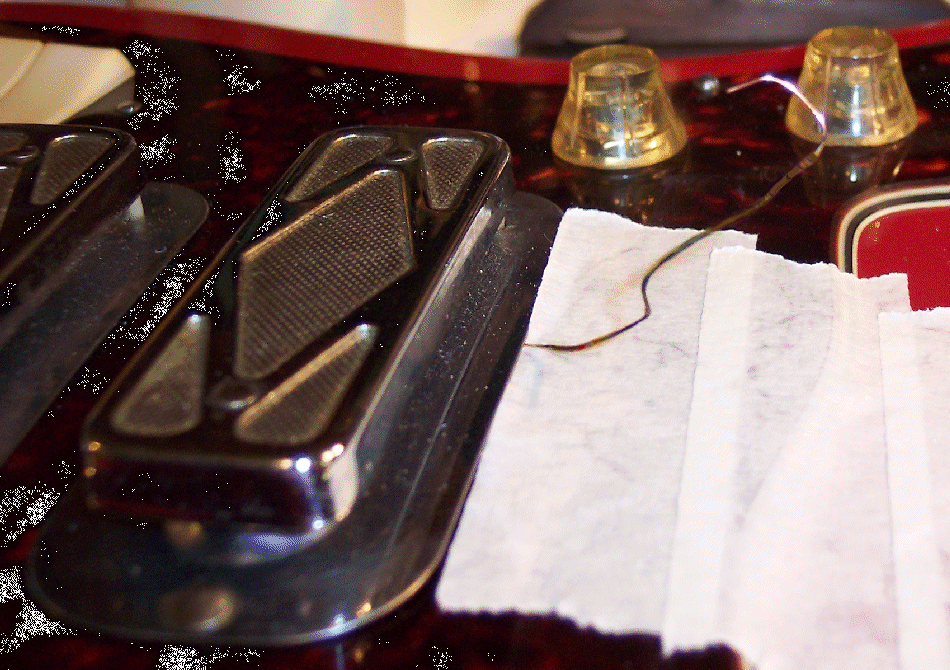
9-11-08: Here is the beginning of coloring the the strings ground wire with pliant acrylic paints, upon which final camouflage can be painted once the bridge is installed. Acylic paints are a water based liquid acrylic plastic that dries to a quite pliable consistancy, so the wire can be formed closely to the bridge. The layout is shown below. A person that is not an expert artist should lay several sheets of newspaper over the entire working area to protect from drips, spills, boo-boo's, etc. Although very small amounts (drops) of paint are taken from the tuna-can pallet to apply to the wire, I still put a masking tape bib under the work to protect from any flicks of paint. An expert artist would know how to immediately and completely clean off any drip etc. |
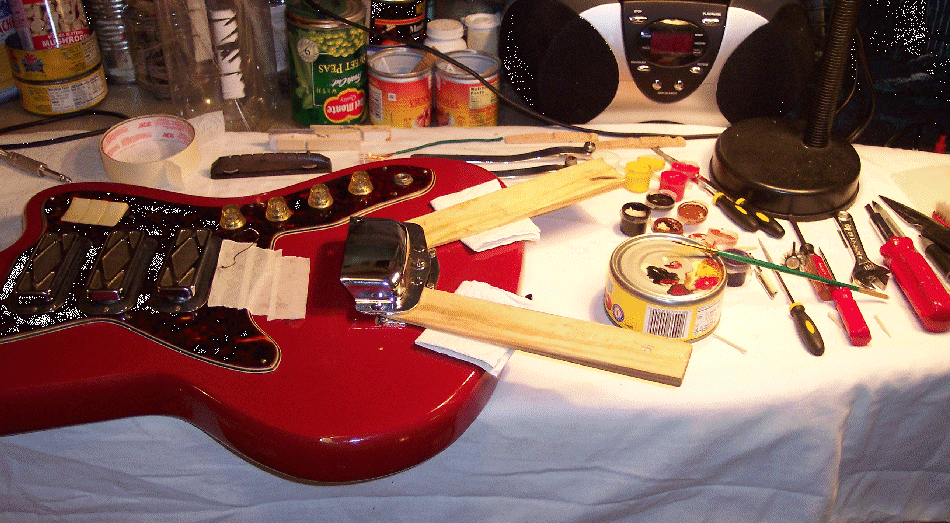
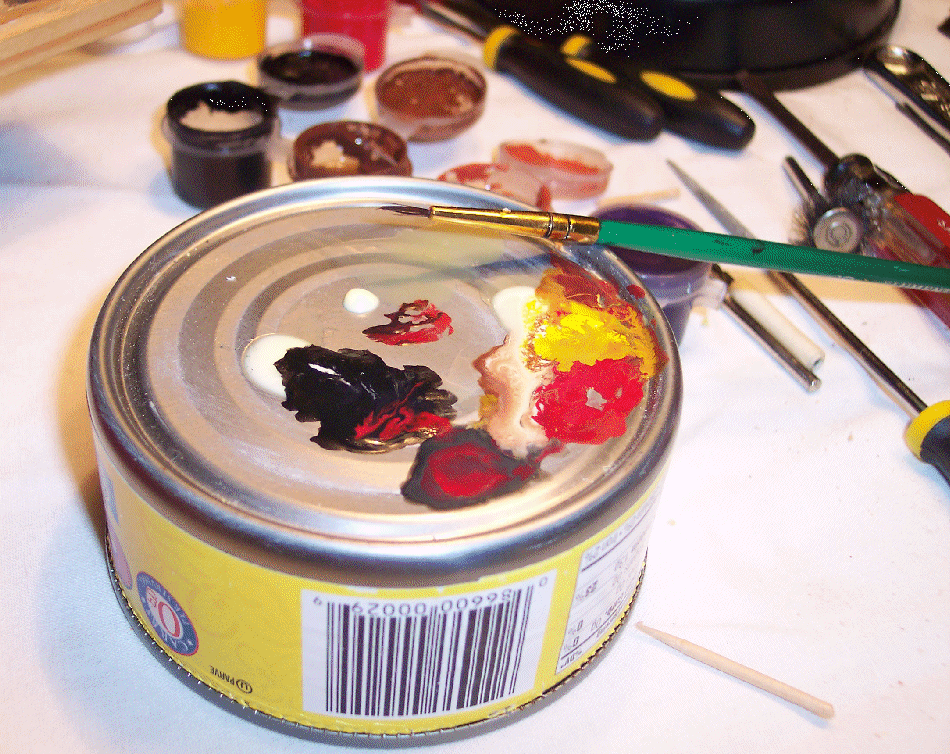
The remains of the colors that were mixed on the pallet. The white color is pliant white-glue I mix with the paint to make them more durable. The tip of the brush is about the size of a sharpened pencil lead; Good for detailed work and ensuring that too much paint cannot be put onto the wire and thus build up to thick. |
When the paint starts tacking (thickening / pulling), it's time to stop until this initial work is allowed to dry good. Then additional fresh thin coats can even out the layering of the acrylic. The final camouflaging will lend to disguising the roundness of the wire. |
Go to NEXT PAGE to see the ground wire installed and being camouflaged. |