Go to the NEXT PAGE to see angular displacement of saddle slots >>> |
ll Work Page 1 ll Work Page 2 ll Work Page 3 ll Work Page 4 ll Work Page 5 ll Work Page 6 ll Work Page 7 ll Schematic ll ll Work List & Progress ll Site Map ll |
ll Work Page 1 ll Work Page 2 ll Work Page 3 ll Work Page 4 ll Work Page 5 ll Work Page 6 ll Work Page 7 ll Schematic ll ll Work List & Progress ll Site Map ll |
1966 Harmony Special Addition Silhouette Silvertone model 1488. ~ Inspections, work, Info and Progress Pages ~ Installing the bridge tape friction footing. |
ll Work Page 1 ll Work Page 2 ll Work Page 3 ll Work Page 4 ll Work Page 5 ll Work Page 6 ll Work Page 7 ll Schematic ll ll Work List & Progress ll Site Map ll |
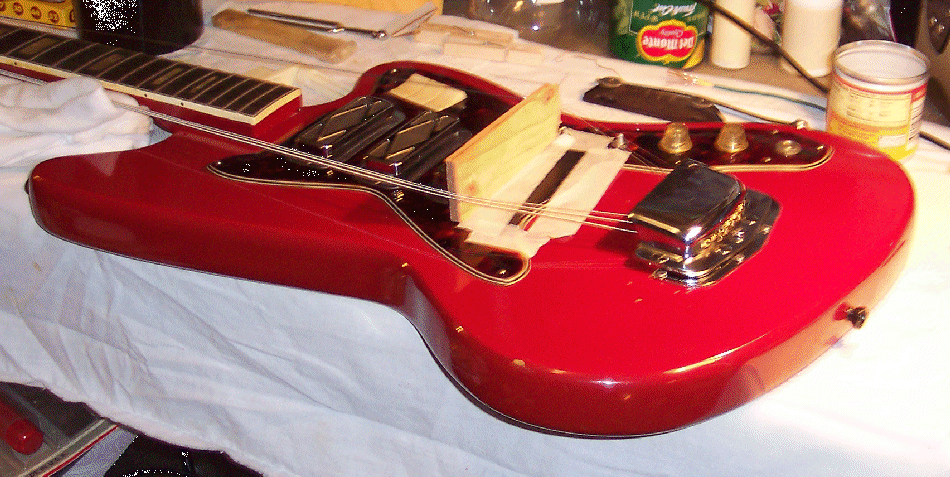
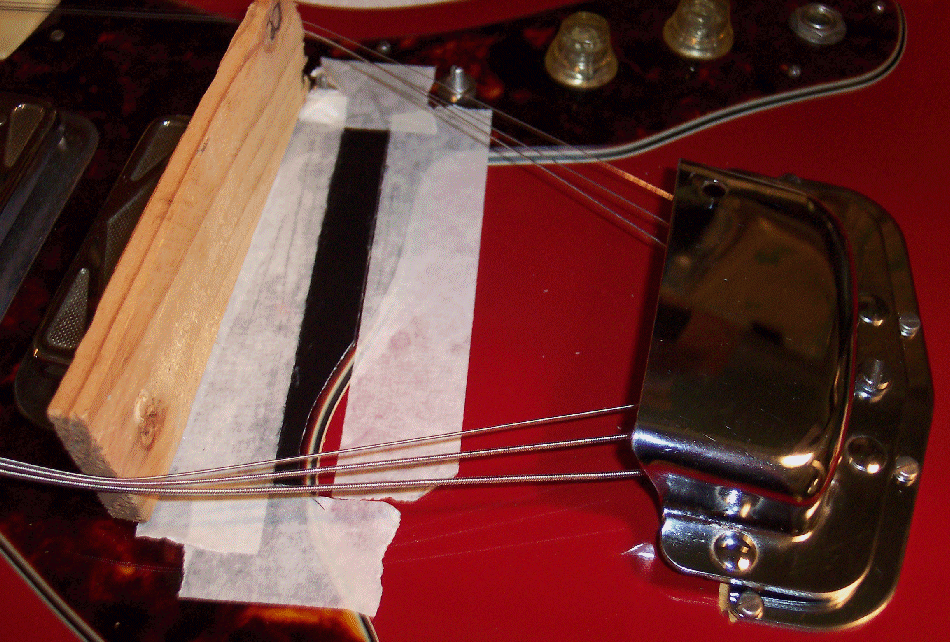
Here the strings have been loosened and a block of wood holds them spread apart in front of the bridge position, making removal and re-insertion of the bridge possible without removing strings which will be used as the vertical "clamp" for gluing the bridge's friction tape footing array on. |
ll Work Page 1 ll Work Page 2 ll Work Page 3 ll Work Page 4 ll Work Page 5 ll Work Page 6 ll Work Page 7 ll Schematic ll ll Work List & Progress ll Site Map ll |
Go to the NEXT PAGE to see angular displacement of saddle slots >>> |
A strip of Gorilla tape was cut exactly the size of the bottom of the bridge base. It was then pressed into the intonation datum marked by the masking tape. The overhang curve was then trimmed off with an Exacto detailing razor knife. |
Another strip of Gorilla tape was cut exactly and pressed onto the bottom of the bridge base. Now we have the non-sticky sides of the Gorilla tape strips that can be glued togehter while allowing non-destructive removal of this tape glue friction footing from the bridge and pickguard without harming either. The non-sticky sides of the tape strips were then rubbed down with a rag slightly wet with acetone, which softened the tape surfaces and exposed some of it's fibre for the hide glue to additionally hold onto. |
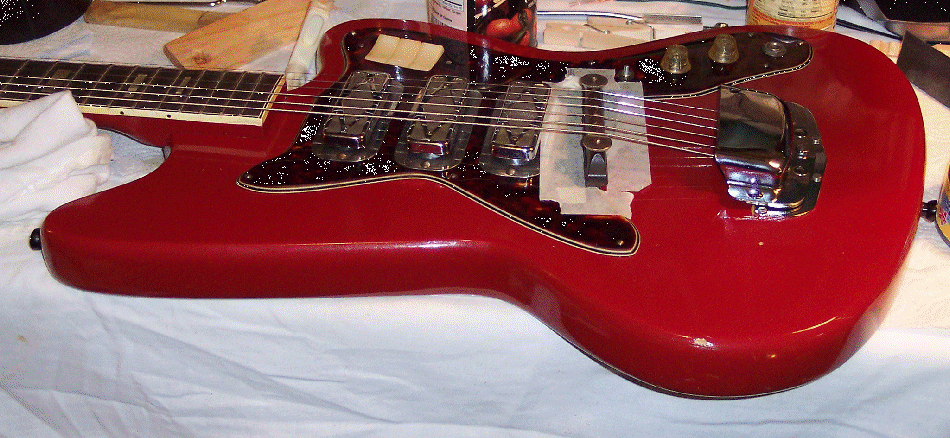
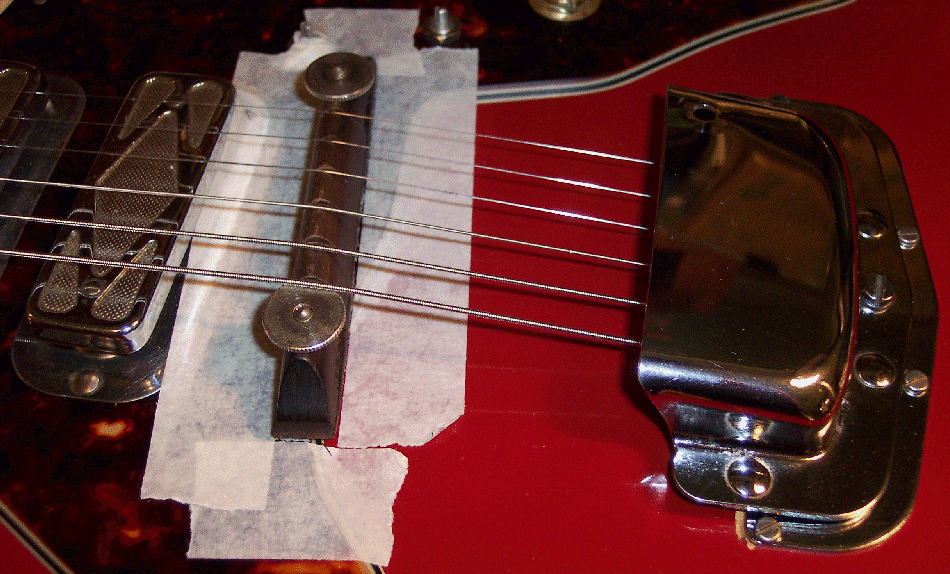
The hide glue was applied to the strip of Gorilla tape on the pickguard, using a small artists brush, and then the bridge carefully installed, with the backs of both strips glued toegether matching exactly; Basicly making a double sided tape strip that will peel off of both the pickguard and the bridge base plate. The strings were then installed to the crown of the saddle so they will run straight with an even down-pressure upon the bridge. The tuners were then used to pull the string tension down upon the bridge, evened out longitudinally by briefly lifting each from the saddle, then evened out laterally across the bridge with the tuners so uneven pressures it wouldn't slide the bridge sideways on the wet glue. The bridge was then slightly slid sideways on the glue by hand to align the first and sixth strings evenly with the neck binding. |
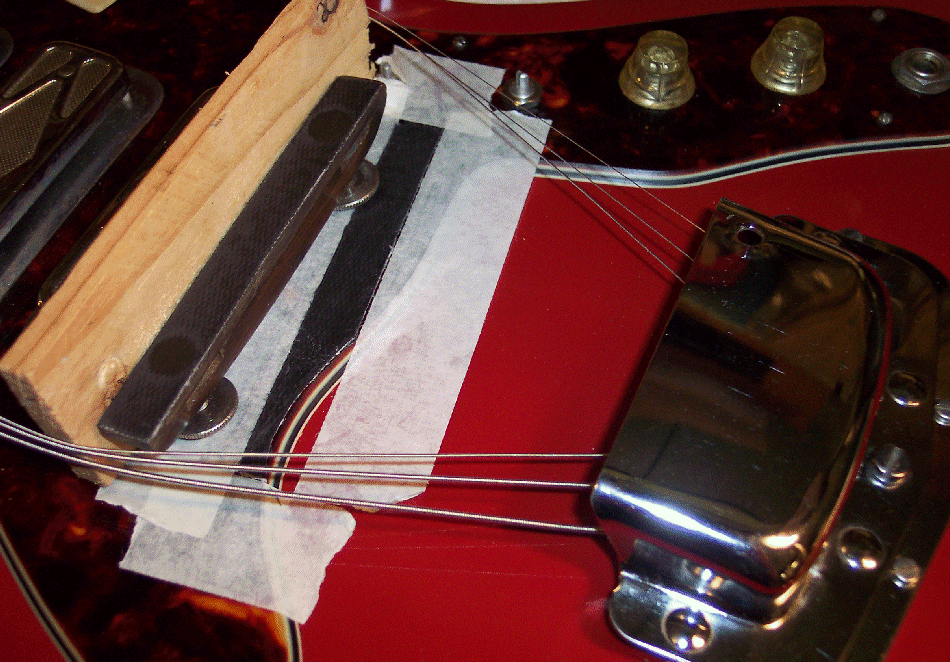
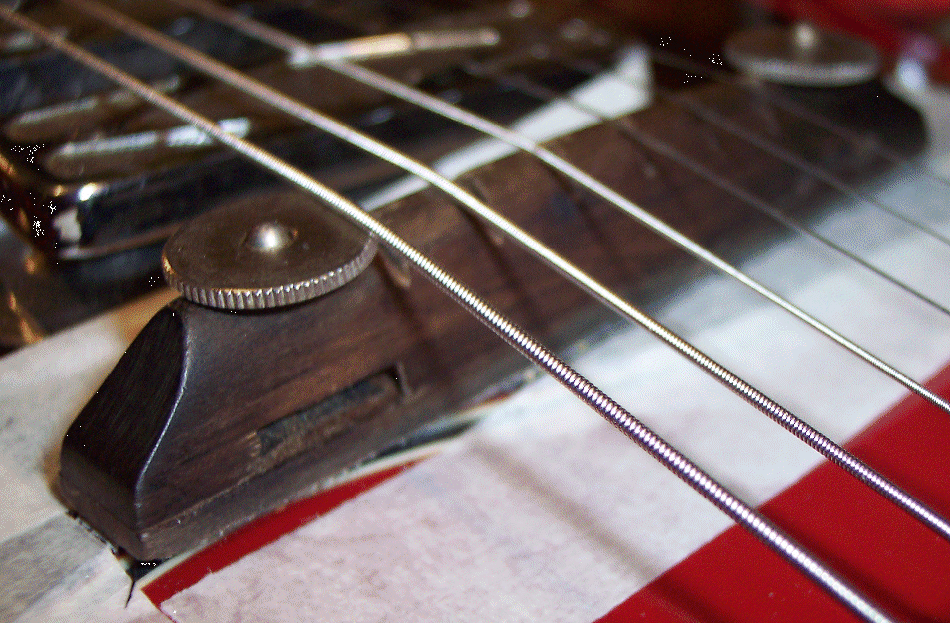
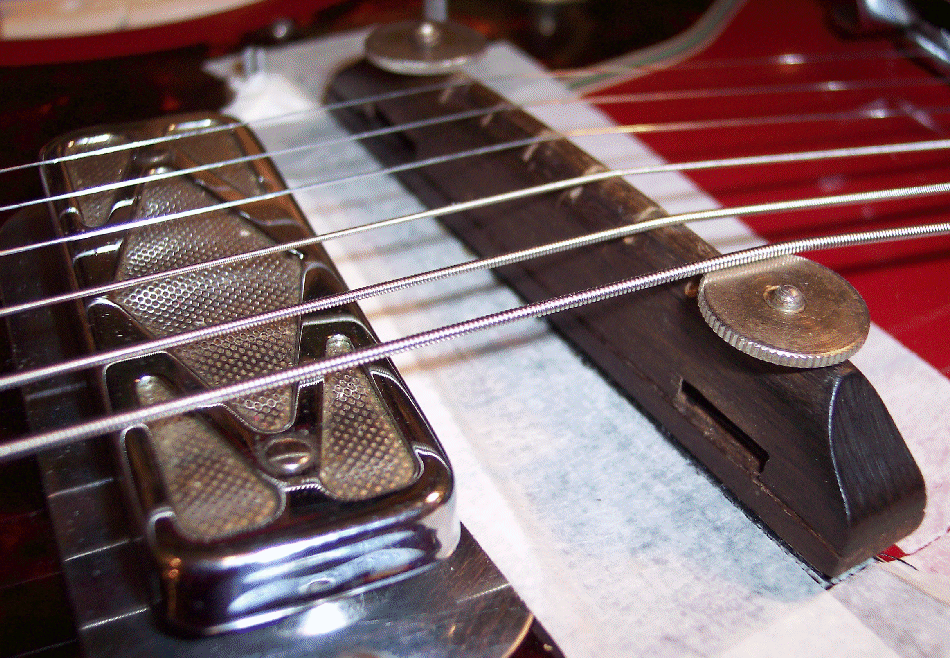
Here is a closer view. The height adjustment wheels are intalled on top of the bridge to keep the top and base pieces in place flat against each other for this work. |
The next 2 pics are close ups of the bridge in place from front and back angles. |