
ll Work Page 1 ll Work Page 2 ll Work Page 3 ll Work Page 4 ll Work Page 5 ll Work Page 6 ll Work Page 7 ll Schematic ll ll Work List & Progress ll Site Map ll |
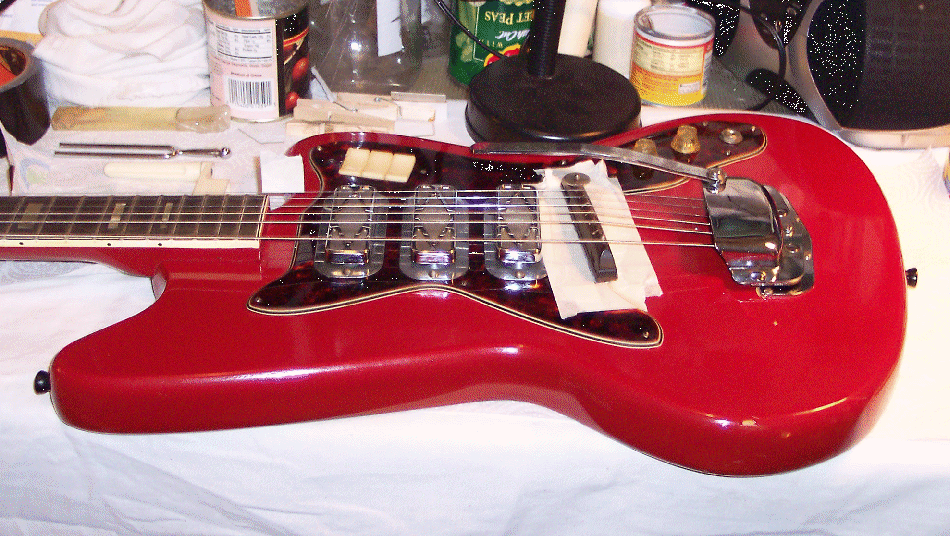
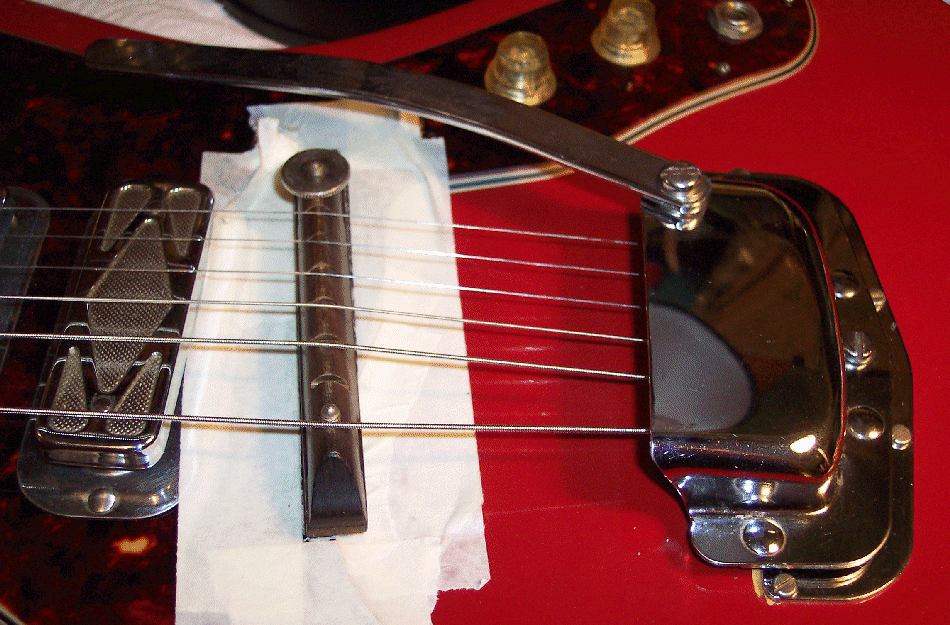
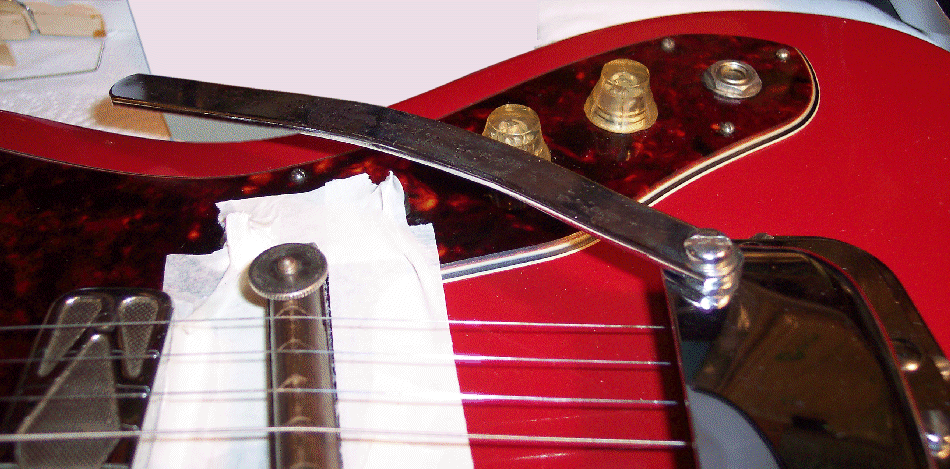
UPDATE: WE WIN; THE BRIDGE WORKS LIKE A CHARM WITH THE VIBRATO ! The tape and it's glue is just resilient enough to allow the bridge to rock a very small amount and thus not cause a conflict between the vibrato and the bridge pinching the strings. I anticipate it will work even better once dry lubricant is put into the string slots. However, as the tape dries out over time (probably a long time), the alterations of this bridge's slots (or another modern same type replacement bridge's slots to preserve the original bridge) might be required as said on page 18 (Saddle Slots Angles) . Lubing the saddle slots was not done at this point because installing the strings ground wire was next and any stray lube could cause a problem for the ground wire camouflage paint sticking. The saddle slots will be lubed when the ground camouflaging is done and dried. The ground wire installation and camouflaging is shown on the next page. ~ A note about the vibrato arm worthy of mention ~ The vertical height on the hand end of the original vibrato arm doesn't have ample throw before meeting with the pickguard; ie. No dive bombing whammy with the arm in it's original shape. I feel sure this was deliberately designed in to reduce the amount of vibrato action with this bridge. It is worthy to make mention that when all of the shortcomings of this bridge and vibrato are worked out, ....an UPWARD curve can be bent into the vibrato arm between the brackets #1 shown below, to give the vibrato arm more throw. In doing so the hand end can be returned to a flatter angle like it is now by bending a DOWNWARD curve where shown at bracket #2. When / if bending the arm, the screw hole area should be clamped into a vice using wood shims to protect the vibrato arm; Which will prevent the flat surface for the screw and it's washers from becoming bent in the process; The screw and it's washers must have a that flat surface to mount upon. |
ll Work Page 1 ll Work Page 2 ll Work Page 3 ll Work Page 4 ll Work Page 5 ll Work Page 6 ll Work Page 7 ll Schematic ll ll Work List & Progress ll Site Map ll |
1966 Harmony Special Addition Silhouette Silvertone model 1488. ~ Inspections, work, Info and Progress Pages ~ Bridge and vibrato work continued; Regluing bridge with new type glue. (And vibrato arm throw footnote) |
ll Work Page 1 ll Work Page 2 ll Work Page 3 ll Work Page 4 ll Work Page 5 ll Work Page 6 ll Work Page 7 ll Schematic ll ll Work List & Progress ll Site Map ll |
I was right; The vibrato string traction and leverage action across the bridge is substantial. Hide glue couldn't get enough grip to hold the vibrato's string action across the bridge. So I cleaned off the hide glue, cleaned and tacked (made sticky) the non-glue surfaces of the tape strips using a rag slightly wet with acetone; But this time I applied a toulene based high strength contact cement to glue the tape strips that will bind the bridge to the pickuguard. The contact cement should have some vulcanizing chemical action with the tape surfaces to form an effective chemical as well as mechanical bond. I studied the bridge's response to the vibrato action even though the hide glue didn't hold. I think this double tape idea is going to work well. It looks like the resiliency of the tape will offer the bridge some rocking motion even with the 2 tape strips glued together well. |
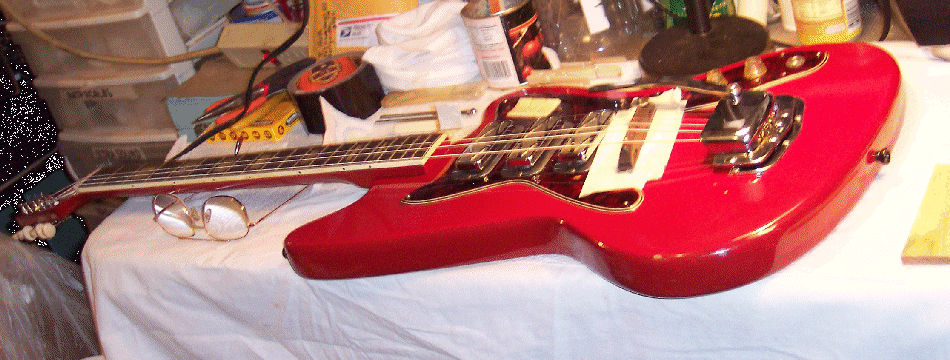
One primer coat of contact cement was worked into the strip on the pickguard and into the strip on the bottom of the bridge base. As the toulene softened the tape surface I used one half of a wood clothespin to tease the glue into the vinyl surface of the tape. I used a small hairdryer to accelerate the primer coats drying to the right tack. I then applied a bonding coat to the tape strip on the pickguard, and after it was allowed to tack for a few minutes the bridge was set into place and the strings set upon the bridge for pressure. |
One primer coat of contact cement was worked into the strip on the pickguard and into the strip on the bottom of the bridge base. As the toulene softened the tape surface I used one half of a wood clothespin to tease the glue into the vinyl surface of the tape. I used a small hairdryer to accelerate the primer coats drying to the right tack. I then applied a bonding coat to the tape strip on the pickguard, and after it was allowed to tack for a few minutes the bridge was set into place and the strings set upon the bridge for pressure. The glue needs 24 hours set time, and 72 hours full load time (full load means for very big structural wood beams etc.); I will take a careful look after 24 hours. The arrangements of the strings below was a dynamic process of adjusting the strings collective clamping vectors until the exact tensions balacne was found to prevent the bridge from sliding on the contact cement while it set-up. |
UPDATE: WE WIN; THE BRIDGE WORKS LIKE A CHARM WITH THE VIBRATO ! The tape and it's glue is just resilient enough to allow the bridge to rock a very small amount and thus not cause a conflict between the vibrato and the bridge pinching the strings. I anticipate it will work even better once dry lubricant is put into the string slots. However, as the tape dries out over time (probably a long time), the alterations of this bridge's slots (or another modern same type replacement bridge's slots to preserve the original bridge) might be required as said on page 18 (Saddle Slots Angles) . Lubing the saddle slots was not done at this point because installing the strings ground wire was next and any stray lube could cause a problem for the ground wire camouflage paint sticking. The saddle slots will be lubed when the ground camouflaging is done and dried. The ground wire installation and camouflaging is shown on the next page. ~ A note about the vibrato arm worthy of mention ~ The vertical height on the hand end of the original vibrato arm doesn't have ample throw before meeting with the pickguard; ie. No dive bombing whammy with the arm in it's original shape. I feel sure this was deliberately designed in to reduce the amount of vibrato action with this bridge. It is worthy to make mention that when all of the shortcomings of this bridge and vibrato are worked out, ....an UPWARD curve can be bent into the vibrato arm between the brackets #1 shown below, to give the vibrato arm more throw. In doing so the hand end can be returned to a flatter angle like it is now by bending a DOWNWARD curve where shown at bracket #2. When / if bending the arm, the screw hole area should be clamped into a vice using wood shims to protect the vibrato arm; Which will prevent the flat surface for the screw and it's washers from becoming bent in the process; The screw and it's washers must have a that flat surface to mount upon. |
< |
> |
< |
> |
#1 |
#2 |
ll Work Page 1 ll Work Page 2 ll Work Page 3 ll Work Page 4 ll Work Page 5 ll Work Page 6 ll Work Page 7 ll Schematic ll ll Work List & Progress ll Site Map ll |