ll Work Page 1 ll Work Page 2 ll Work Page 3 ll Work Page 4 ll Work Page 5 ll Work Page 6 ll Work Page 7 ll Schematic ll ll Work List & Progress ll Site Map ll |
ll Work Page 1 ll Work Page 2 ll Work Page 3 ll Work Page 4 ll Work Page 5 ll Work Page 6 ll Work Page 7 ll Work List & Progress ll |

~ Bridge and Vibrato ~ Page 1 of 5 |


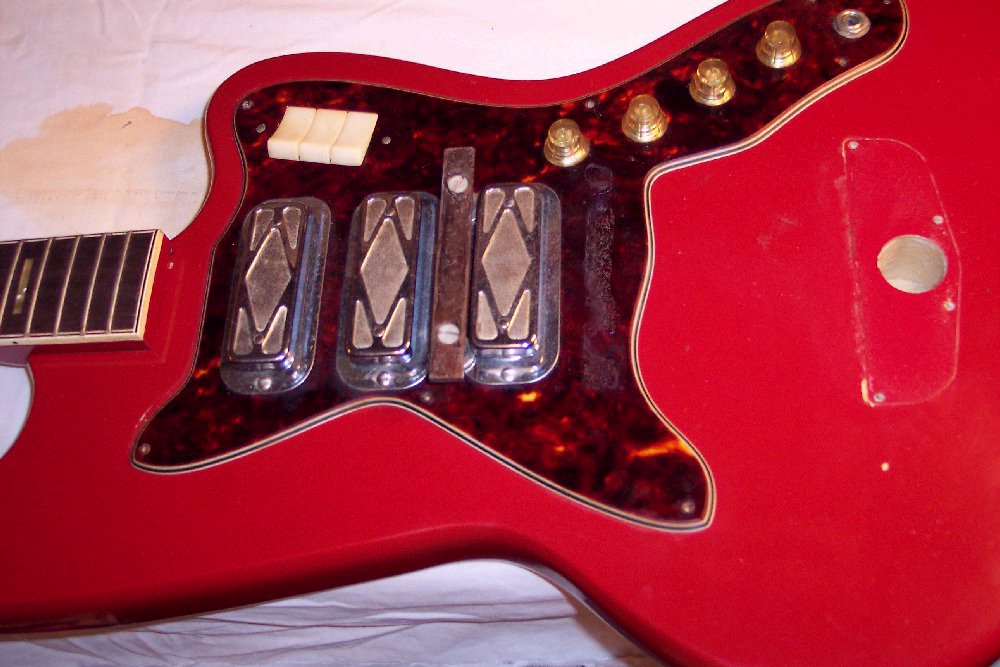
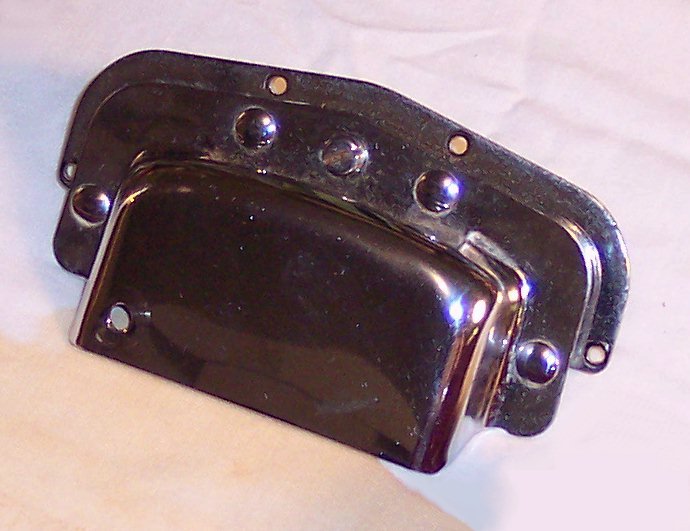
The Vibrato mounting spot and it's hole for the vibrato spring can be seen below, followed by more pics of the vibrato assembly removed for a thorough cleaning and corrosion inhibiting treatment. Also shown is the bridge bottom and bridge position on the pickguard, ....showing a light glue that the factory used to grip the wood floating bridge onto the slick plastic pickguard, but would pop off easily and did with no effort when I checked it, ...due to the age of this guitar and the glue. A good bond between the floating bridge and it's intonation positin was & is required with the advent and popularity of lighter gauge strings that had just come onto the market on a large scale not even 3 years when this guitar was made. The then-new .0010 - .0048 light gauge strings didn't have enough down pressure to hold floating bridges in their intoned positions very well on a flat slick surface, ....especially with string bending and heavier attack that light gauge strings afforded and Rock 'n Roll popularized; And certainly not with a vibrato ! So glue, sandpaper and abrasive felt were all used to create a light bond or friction between the bridge bottom and position it sat on the guitar, ...with felt and sandpaper still not enough for a floating bridge on a vibrato guitar. I am quite reluctant to use a plastic glue like was original because it's intent was to melt into the plastic pickguard a bit for good fore-aft grip with the vibrato action; And I don't want glue to melt the pickguard plastic any further. I will probably use tight bond white glue which will hold tight on the already existing rough texture of the pickguard plastic, yet not melt the plastic and can be removed and therefore not a non-original treatment that would be permanant. |
V |
V |
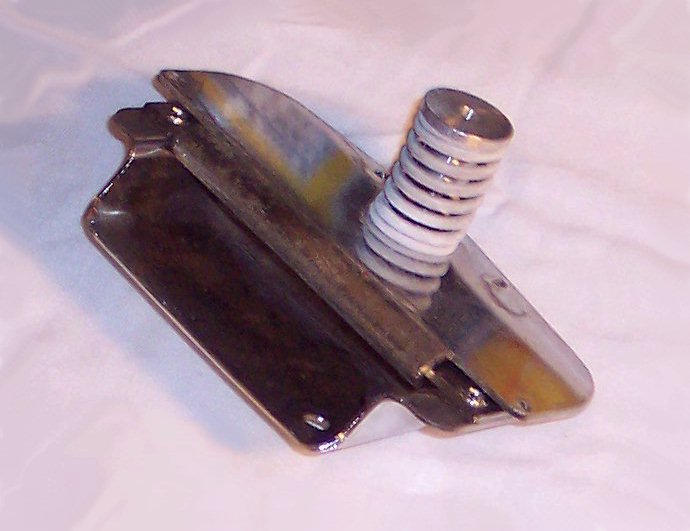
The vibrato assembly is in excellent condition and will clean up very well. The standard head screw is the adjustment screw for the vibrato spring tension. |
Note here that the under sides of mounted guitar parts don't get their share of polish, oil and maintenance; Out of sight ... out of mind ! The icey / frosty looking stuff on the vibrato spring is ALUMINUM oxide on the STEEL spring ! It's dielectric electrolysis ...amplified by the guitar's electromagnetic fields; Where the oxidation of the spring's perfectly clean chunk of aluminum retention cap prefers to migrate to the steel spring ! It disappears with a bit of penetrating oil and wiping. I will also apply some corrosion inhibitor treatment to other minor oxidation on the bottom and tight inside of the vibrato assembly |
V |
< |
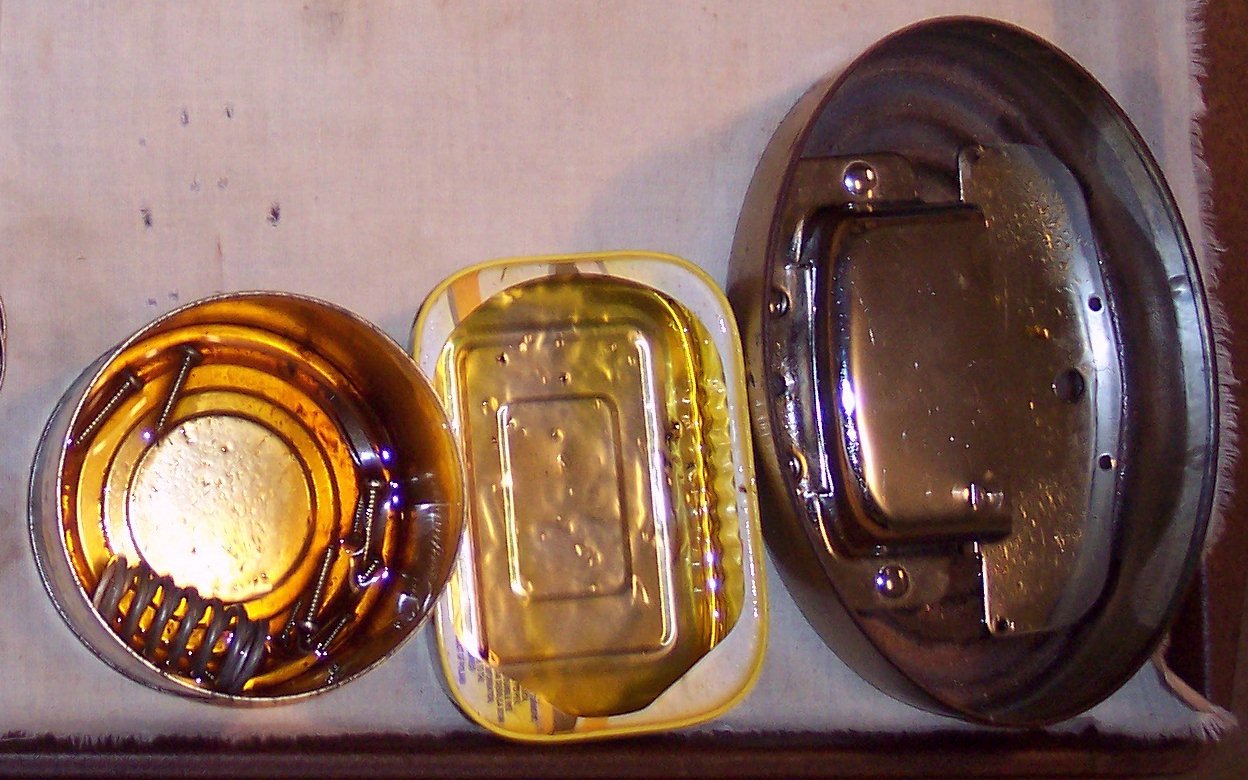
Here's the vibrato assembly and screws in their penetrating oil bath. After soaking for a day or two these can-trays will be placed on a vibrating table I built that will inject low sonic and ultra sonic vibrations into the oil bath and parts, doing a much better job than oil and hand "tools" alone can do. |
< |
The brownish orange across the bottom of the vibrato mounting plate is a reflection of things on my work table. |
1966 Harmony Special Addition Silhouette Silvertone model 1488. ~ Inspections, work, Info and Progress Pages ~ |
ll Work Page 1 ll Work Page 2 ll Work Page 3 ll Work Page 4 ll Work Page 5 ll Work Page 6 ll Work Page 7 ll Schematic ll ll Work List & Progress ll Site Map ll |