Top Views From Bass Bout angle. And a side page: Backside Views. Top Treble Bout Angles and Neck Views. BLANK. Disassembled and Layout Preparation Views. Pickups / Electronics Harness Views. Pickup and Rocker Switch Internal Details. Schematic and circuit logic. And a side page: More views of electronics, Neck, Headstock and Truss Rod access. Truss rod access screw hole repair. Preliminary Assembly 1. Preliminary Assembly 2. Neck Joint screw holes refurbish. Neck pocket gauged and planed. Taping, masking and touch-up painting inside of cutaway horns. Noteworthy work in reassembly & set-up. Guitar Finished Work needed / suggested, work done, work I will do. ll Homepage ll Inventory Index ll |
Kawai / Teisco 4 "nuclear" Teisco pickups; 6 Rocker Switches; Sophisticated circuit. Pictures and info 7-15-08 ~~~ Second Page of Preliminary Re-assembly ~~~ |
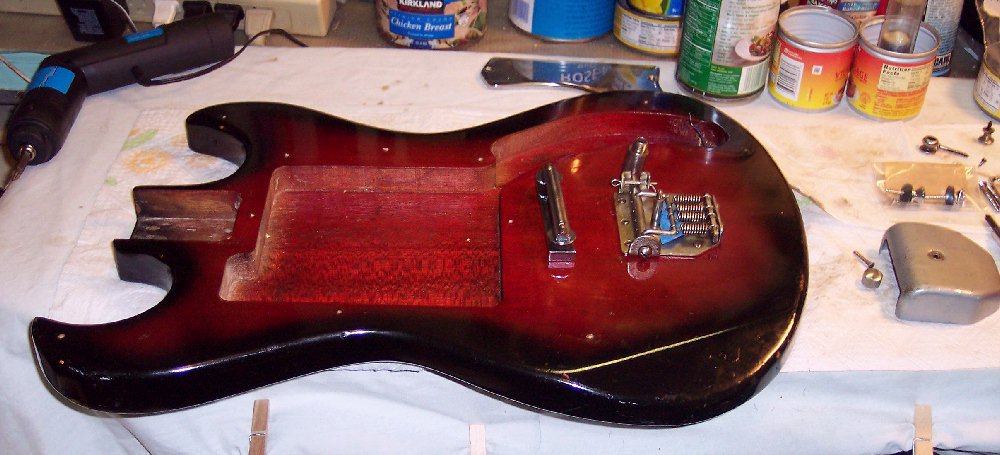
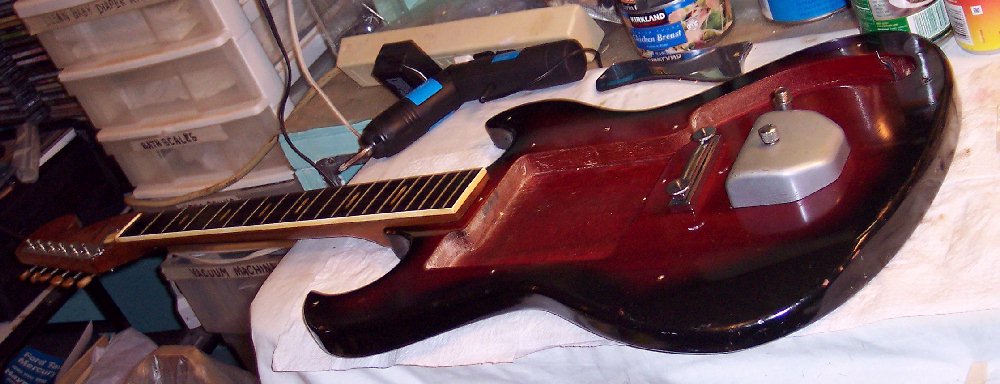
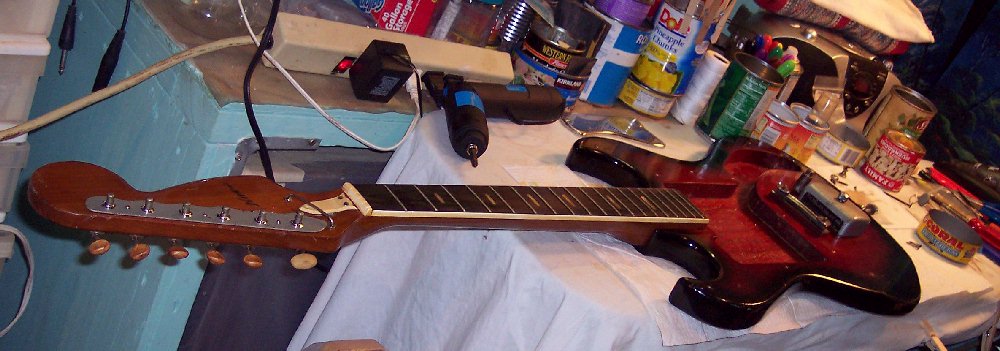
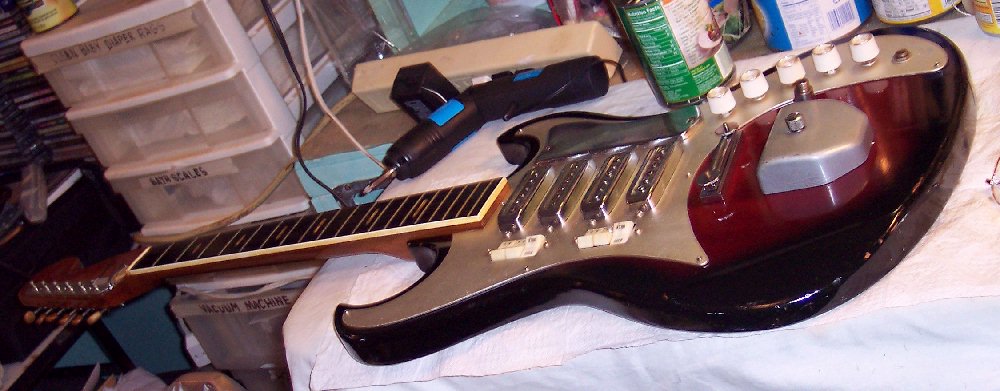
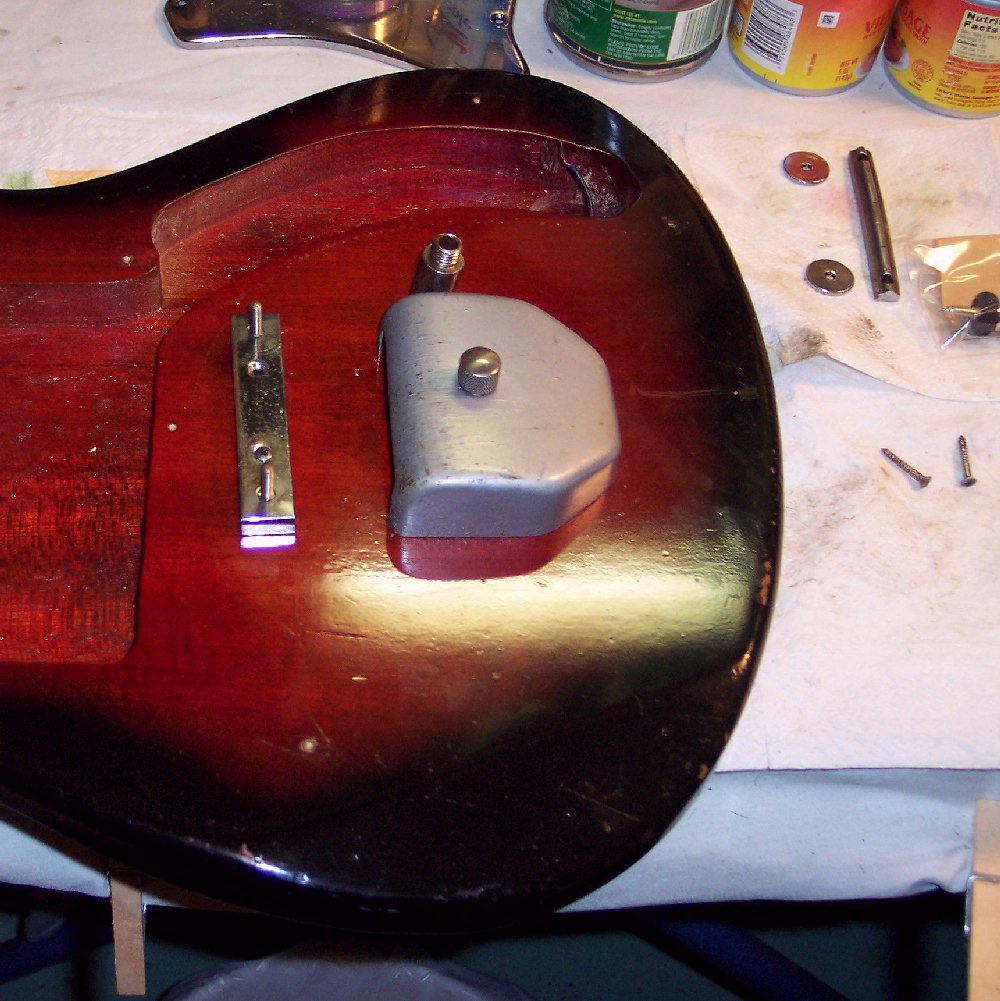
Vibrato and Bridge re-installed. Notice the angle on the bridge. Only the bass-side screw of the bridge plate was installed, with the bridge tilted forward on the treble side for better intonation than the perpendicular factory position that had no intonation offset at all; A good example of one of the few fine details / finesse of electric guitar design that the Japanese had not yet quite caught up with back then. The one screw in the bridge along with string down-pressure will hold the bridge in place just fine; After all, floating bridges have no screws at all ! The blue under the Vibrato springs bracket is a strip of stiff foam rubber I installed in a SWAG to stabilize the vibrato's return in tune and still offer some up-scale travel as well. I have stiffer and softer rubber to fine-tune the vibrato's return in-tune. This is an old trick for spring operated vibratos. |
Closer view of the bridge plate offset. |
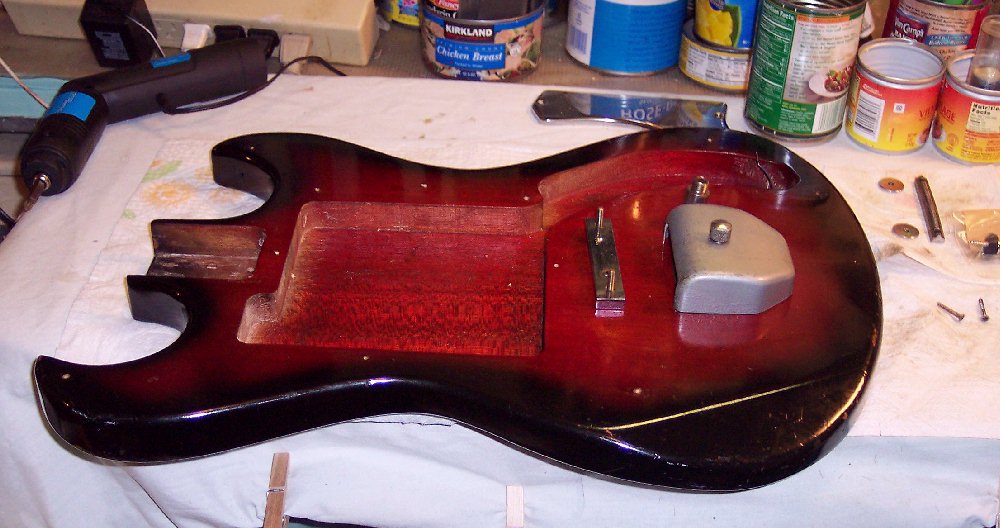
Vibrato cover installed. |
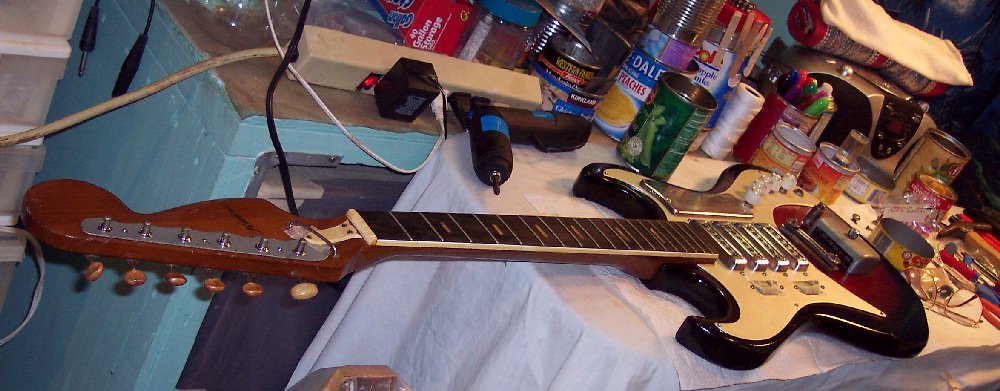
First of two views of neck installed. (The bridge wheels are on top to keep the floating saddle in place until restringing). |
Second view of neck installed. Notice that the truss rod cover and string down-pull loom are also installed here. |
Guitar completely reassembled except for strap buttons and strings. |
View from the headstock end. |
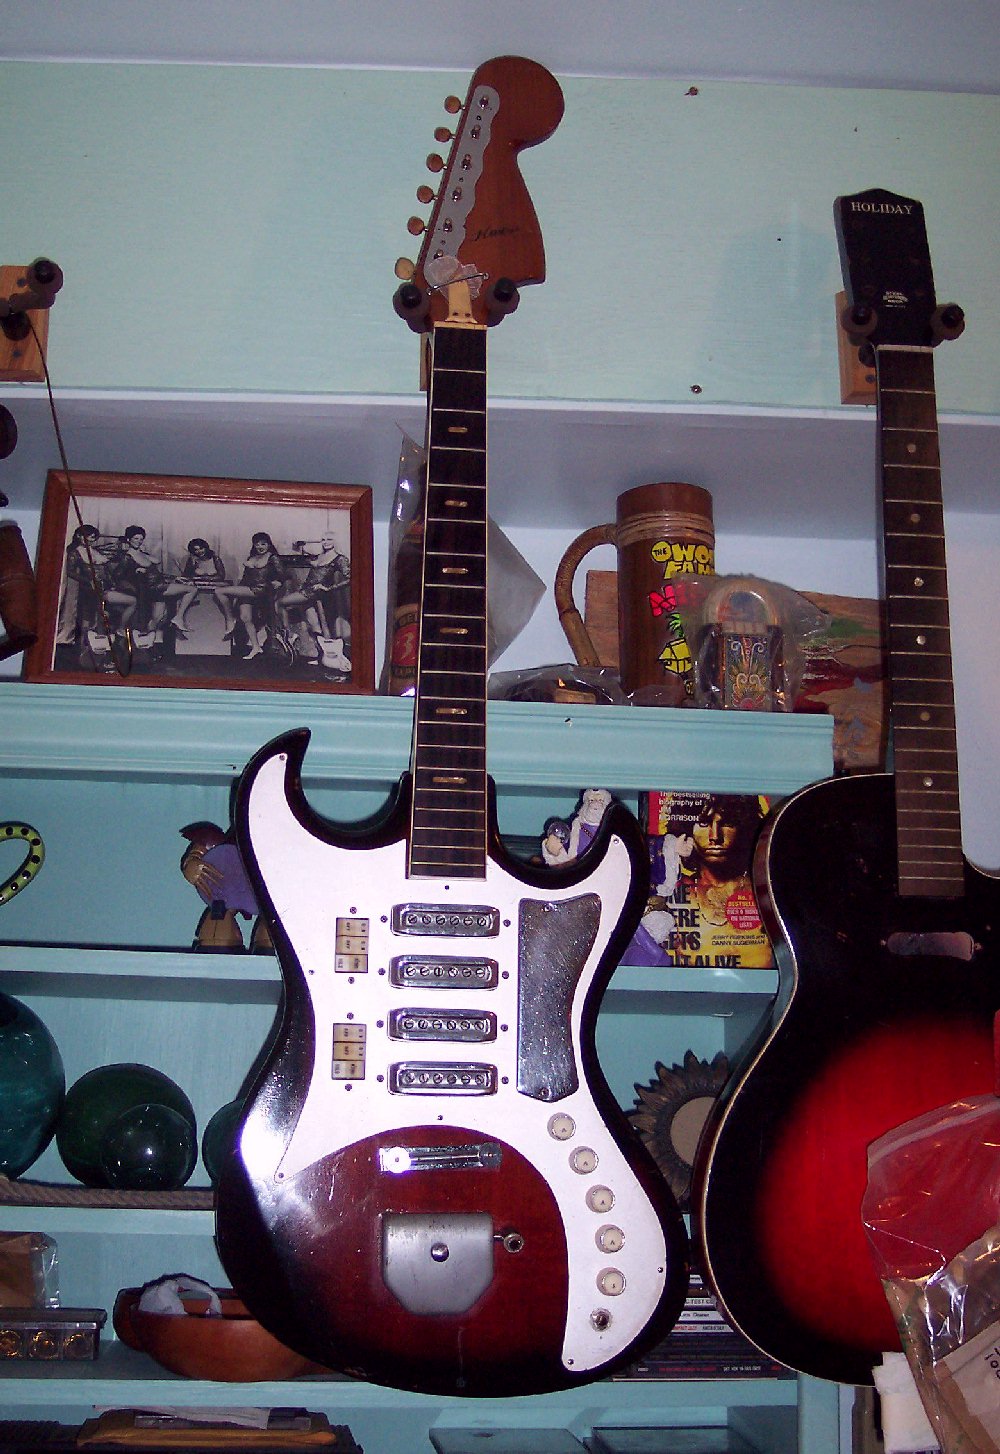
Guitar hanging overnight for the strap button refilled / recapped holes to cure. The wax paper under the truss rod cover is so that it will not stick to it's cavity repair work while it too cures. I'm getting real excited about stringing this guitar up and getting to play it for a couple of hours along with some Blues CD's while fine-tuning the intonation, pickups' dynamics & volume balances and other set-up details. Hopefully by the time this webpage is done I will already have played this monster and making fine adjustments to it's set-up. The Las Vegas Dano Girls look like they're ready to jam too ! Merlin is blessing it, ....and it looks like Jim Morrison is saying, "Don't you upstage me......." ! |
NOW this guitar is in the condition it should be in ......deserving of it's past and renewed for an equally raucus future ! I'll have to offer ear plugs to the neighbors when I fire this thing up for a preliminary re-assembly testing ! Rock On..................... |
Top Views From Bass Bout angle. And a side page: Backside Views. Top Treble Bout Angles and Neck Views. BLANK. Disassembled and Layout Preparation Views. Pickups / Electronics Harness Views. Pickup and Rocker Switch Internal Details. Schematic and circuit logic. And a side page: More views of electronics, Neck, Headstock and Truss Rod access. Truss rod access screw hole repair. Preliminary Assembly 1. Preliminary Assembly 2. Neck Joint screw holes refurbish. Neck pocket gauged and planed. Taping, masking and touch-up painting inside of cutaway horns. Noteworthy work in reassembly & set-up. Guitar Finished Work needed / suggested, work done, work I will do. ll Homepage ll Inventory Index ll |