
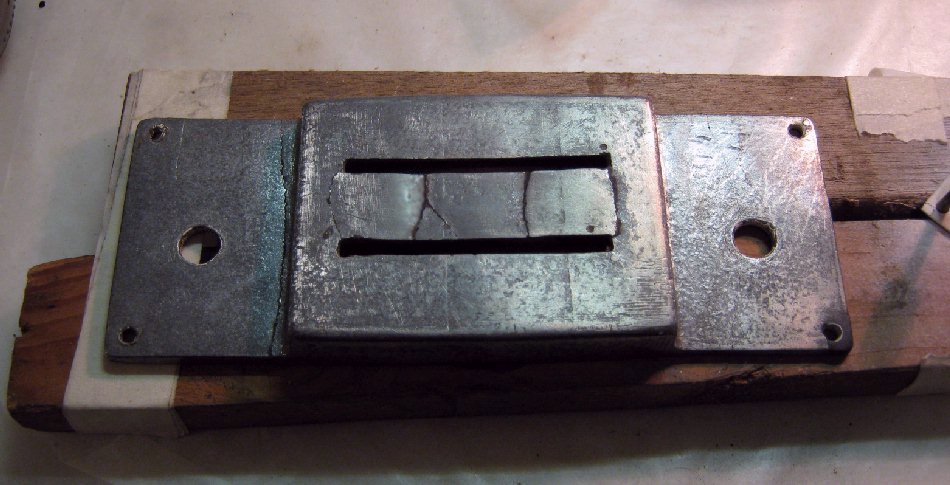
All stripped, sanded, wiped with tack cloth and then with acetone; Baby butt clean. All of the glued crack joints previous epoxied remain filled, bonded well and leveled with surrounding surfaces. Now here is something very very interesting. Remember,.... I am collecting tech data to determine if this pot metal is made with bismuth, ...and if so then I can't help to suspect that a diamagnetic purpose is inherent in the design / function of the pickup if not a Hall Effect as well. Now here's the interesting part: One of the characteristics and identifiers for bismuth is that it often has a green hue on the surface of the metal due to oxidation. Now this steel's pot metal shows no signs at all of a green hue when I examine it; But the camera sure sees it ! A digital camera sees the slightest real color too faint for our eyes to see. |
See Next Page; Sanding and finishing the new epoxy work >>> |
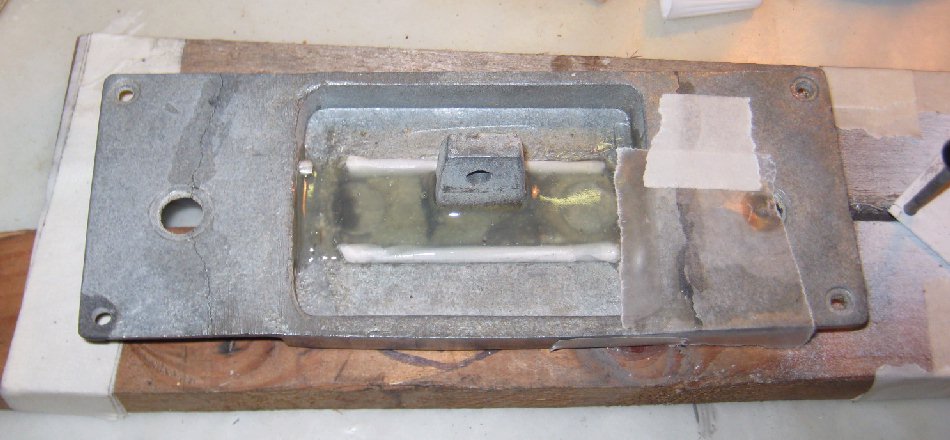
Regal Lap Steel Flamed Maple Veneer Deco Great Depression - WWII era Page 13; Stripping and Re-Epoxying the Electronics Casing: |
See Next Page; Sanding and finishing the new epoxy work >>> |
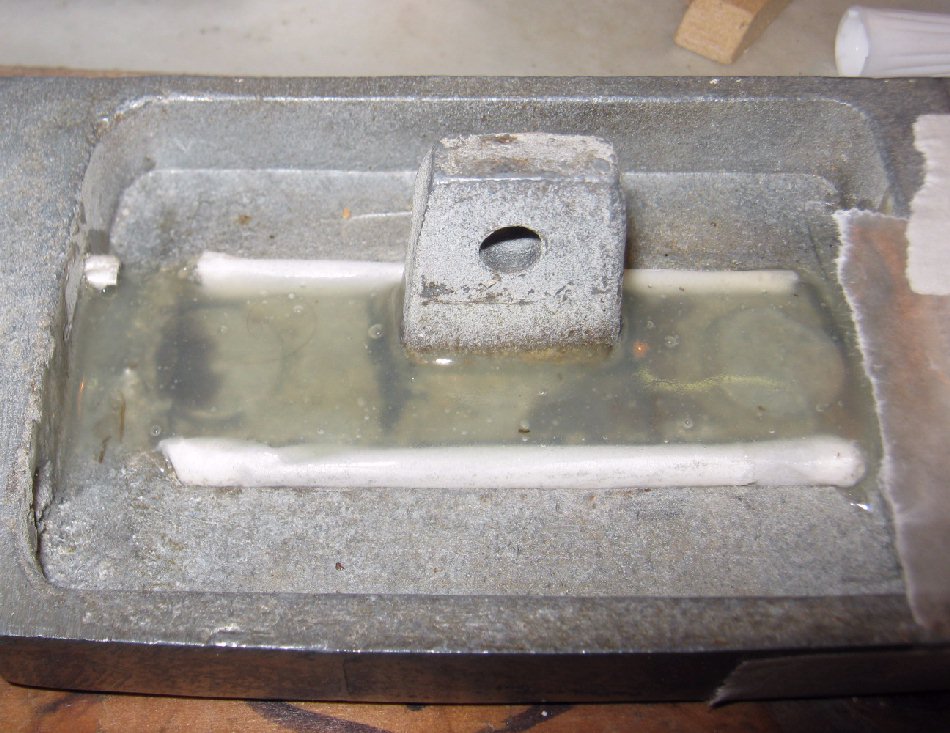
All stripped, sanded, wiped with tack cloth and then with acetone; Baby butt clean. All of the glued crack joints previous epoxied remain filled, bonded well and leveled with surrounding surfaces. Now here is something very very interesting. Remember,.... I am collecting tech data to determine if this pot metal is made with bismuth, ...and if so then I can't help to suspect that a diamagnetic purpose is inherent in the design / function of the pickup if not a Hall Effect as well. Now here's the interesting part: One of the characteristics and identifiers for bismuth is that it often has a green hue on the surface of the metal due to oxidation. Now this steel's pot metal shows no signs at all of a green hue when I examine it; But the camera sure sees it ! A digital camera sees the slightest real color too faint for our eyes to see. |
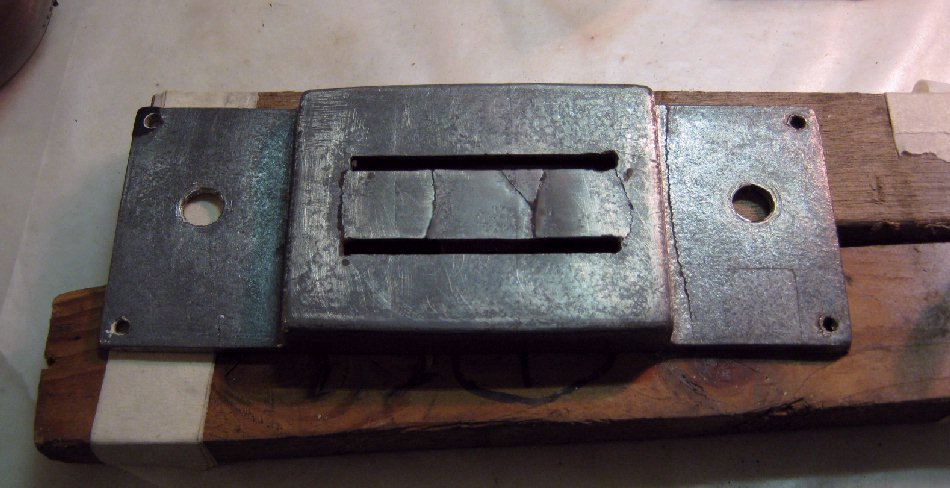
One small place where some additional epoxy can be applied to the first epoxy / leveling. |
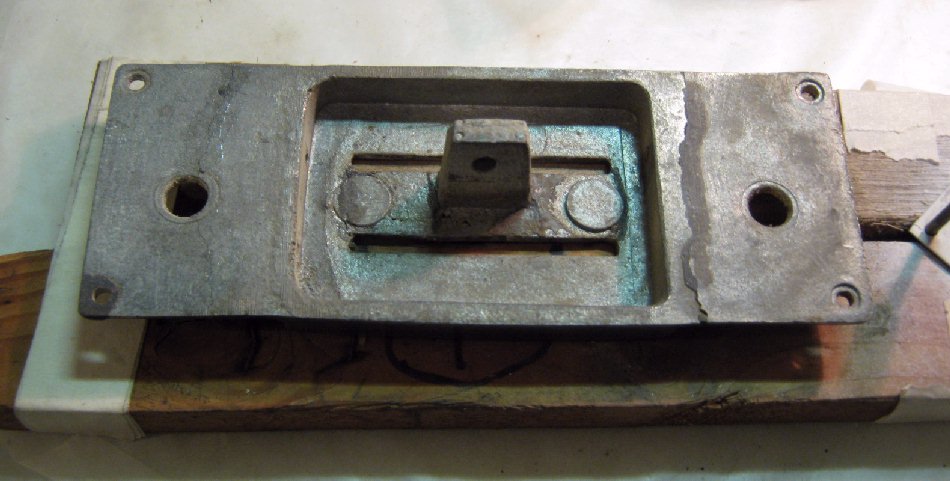
Well that's an easy one; Mix up a batch of epoxy to reinforce the back of the casing top, and place a few drops of fresh epoxy where it was shy on the crack joint; Tape down a strip of wax paper pulled tight over the epoxy drops and they are mashed into the joint and leveled perfectly with the surrounding area by the molding character of the wax paper. |
< |
> |
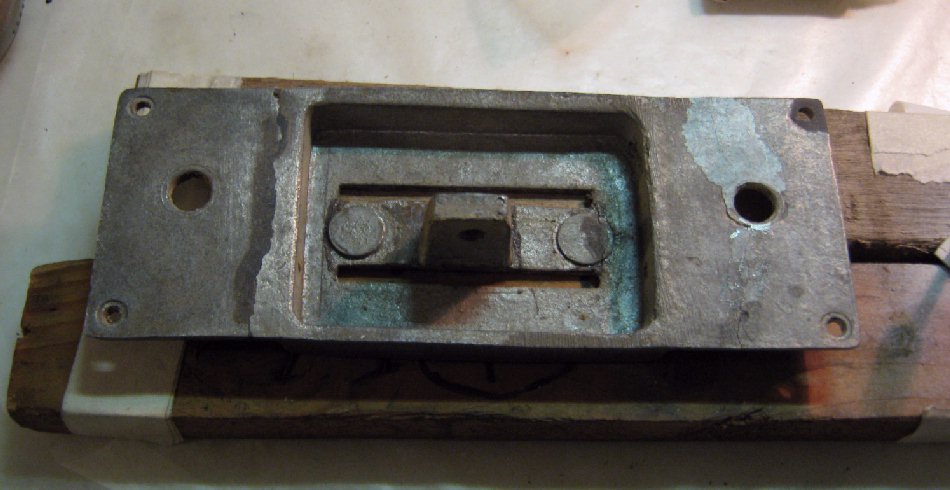
A small strip of wax paper is rolled tight and stuck into each of the 2 screw holes for the hand cover that is screwed on over the electronics casing; Epoxy won't stick to it and it's easily removed when the epoxy cures overnight leaving the screw hole still nice and clean. |
< |