Regal Lap Steel
Flamed Maple Veneer Deco
Great-Depression / early WWII era
Page 15; Electronics Casing Finished:
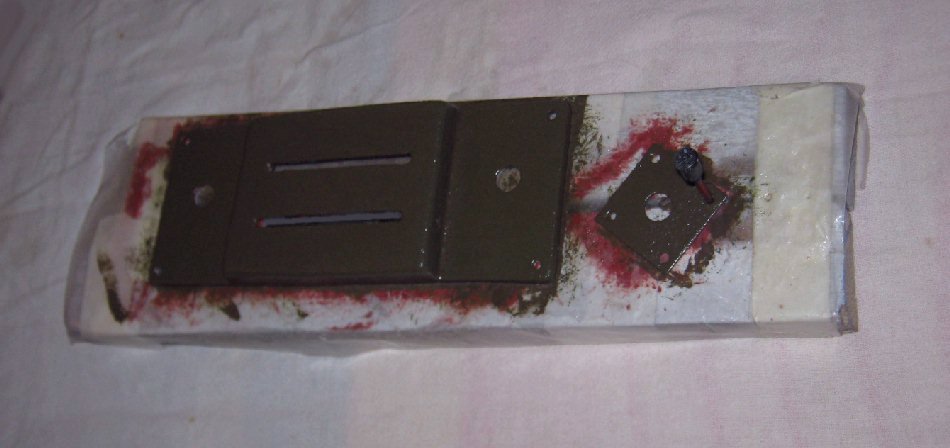
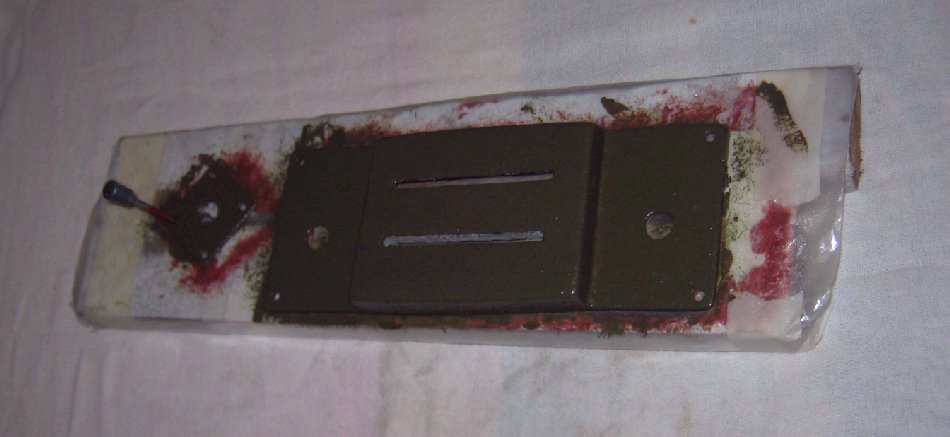
A fresh wrap of wax paper is put around the footing jig between different paint sessions, to keep any contamination from previous colors and paints from getting on the cover, particularly around it's edges where paint meets the cover edges and the wax paper. A red-brown coat was applied before the brown to emit a reddish hue the original color had should the top coat have any translucency. Here is the pickup cover after all coats of epoxies and paints have been applied and cured in direct sunlight. Now ready for it's final removal from the painting footing jig.
Click Here to see the painting jig after first priming coat.
Click Here to see the original color and the pickup cover's shattered condition before rebuilding it.
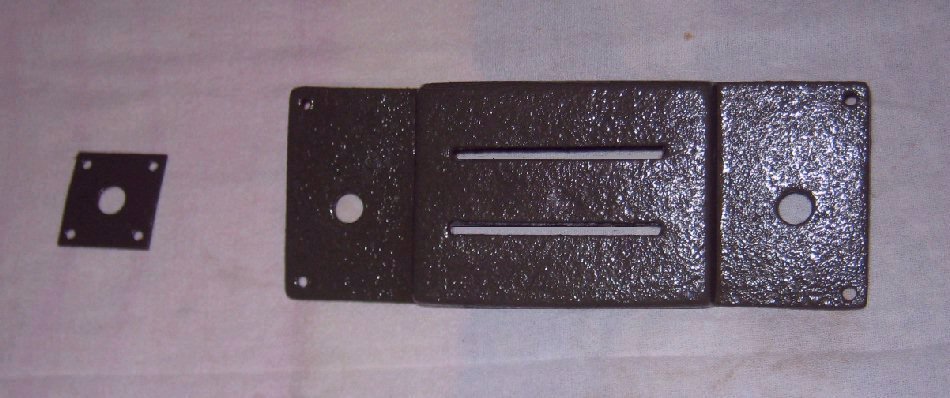
The original finish was done in a hammered / krinkle type paint. I could not find a krinkle paint anywhere near the correct color of brown, nor a krinkle paint for exterior applications which is what is needed to withstand body sweat, oils, acids, etc. So I hand-made the krinkle finish by loading up several succesive heavy coats of enamel paint while each coat was still tacky, and then flashing all those heavy coats with a top coat thinned with laquer thinner; Then while accelerating drying with a hand held hair dryer, I stippled the paint with a small, stiff, short haired hog bristle artists brush which left solft paint spikes sticking up in the final stages of drying. Carefully timing the stop stipple teasing will allow the paint spikes to sag back down and rejoin the surface paint in a random irregular krinkle type pattern.
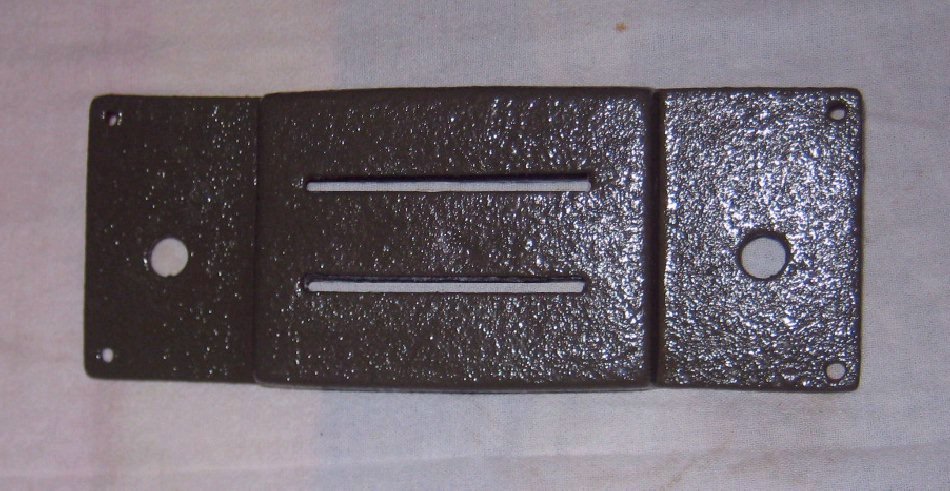
A closer look at the stippled krinkle finish. Compare with the original Here.
See NEXT PAGE for resumption of work on this Steel >>>