
See NEXT PAGE for continuing electronics work >>> |
Regal Lap Steel Flamed Maple Veneer Deco Great Depression - WWII era Update 12-7-10: A 'dominoe effect' series of illnesses interupted work on this Steel for several months ....along with just about everything else around the home and shop; Thank God we live Hawaii and have so many blessings and good people in our lives to help get us through rough seas; Otherwise I feel sure I would have thrown in the big towel. 3 weeks ago, after 2 months of 'mundane tasks and gardening therapy', I reached a point in recovery to open the shop back up and start getting it back in order from the catch-all temporary storage "warehouse" it had become as my wife and 2 kids helped me deal with a mounting backlog of chores during the time I was disabled, the best they could, ....which meant, "don't mess up / with any of Dad's stuff ....just put it in his shop". I fumbled around off-and-on for 2 weeks moving a few things around and "reprogramming" my mung and dizzy memory and brain about the shop and how to go about getting it in order. This Steel Guitar was the #1 priority, but impossible until I could clean things up enough to get back on it. December 1 I was finally able to sit back down to this guitar. This guitar's electronics had already been a very complicated and lengthy research and work project because it appeared to be factory wired but done so in a configuration I had never seen before, and it didn't make any sense to me nor to a number of other guitar technicians I consulted. Occasionally strange things are found in old electronics that contribute to the tech communities understanding of great ideas that had been lost to history, ....are lost to history because the person finding it could not or did not put in the research to figure it out. I suppose I have an obsessive comulsive "disorder" to figure things out. And I did not want to rewire it conventionally and lose some appreciable nuances. Much research was in my notes and had been in my head. Would I remember important things in that research? Would getting back on this guitar be the good relief I thought and hoped it would be, .....or would it be a stressful black hole and set my recovery back? It had already become stressful among a number of other important matters that fell behind during my illness, until doctors orders compelled me to set all things aside prerequisite to regaining my physical and mental health. ------- oOo ------- VOILA ..... no stress; Things fell pretty much right back into order as I sat down to this guitar, mentally reviewed each and every part in the process of laying out the tools and materials for reassembly. Felt darn good ....a big relief. Thank God I had previously made it to the point of reassembly. So here's where I'm at as of 12-7-10: Page 16; Preparing Pickup for Reassembly: |
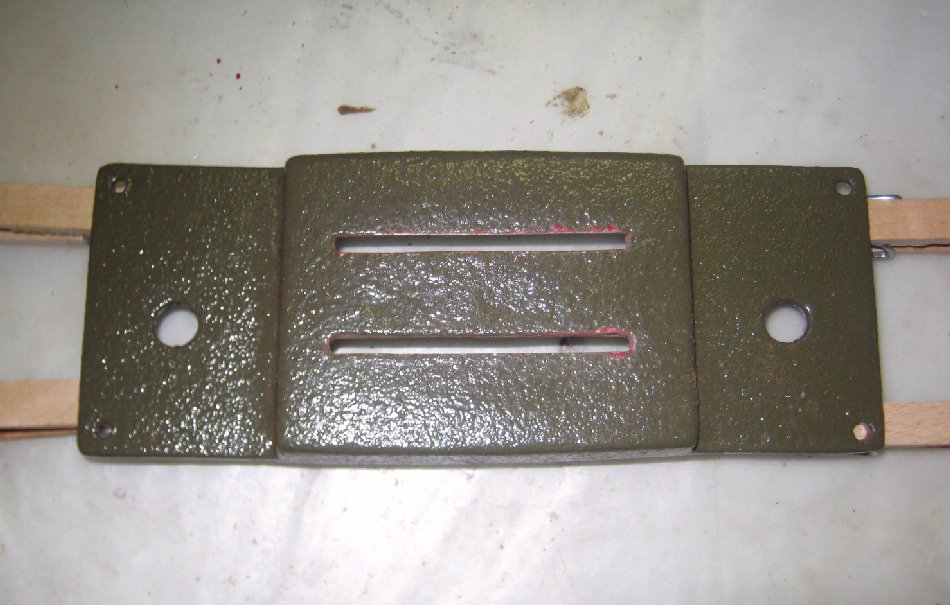
Bonding and reinforcement epoxy was filed fit in the poles blades slots and pots mounting holes. |
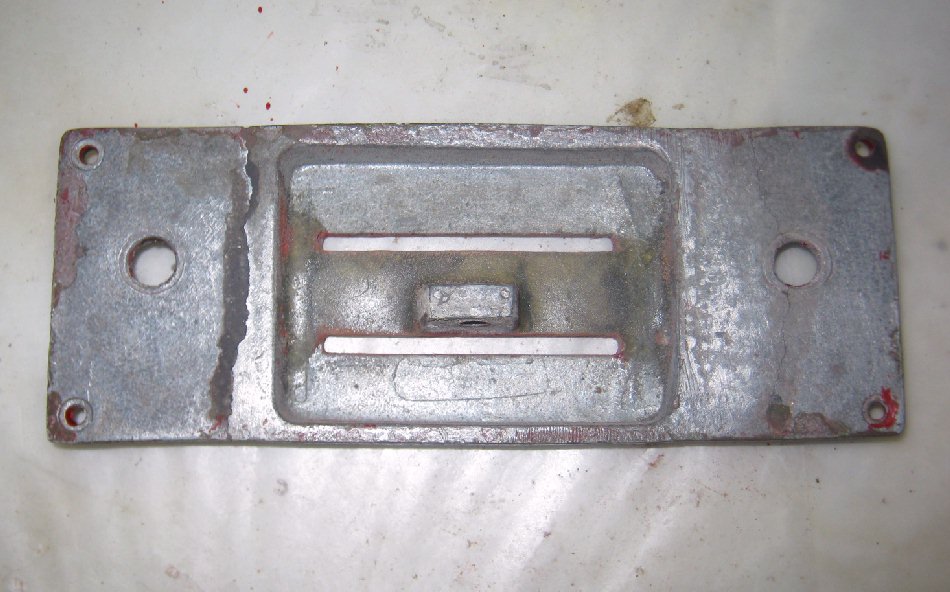
Epoxy on the underside of the electronics mounting casing will be trimmed for good fit and finish as the electronics parts are fitted for installation: |
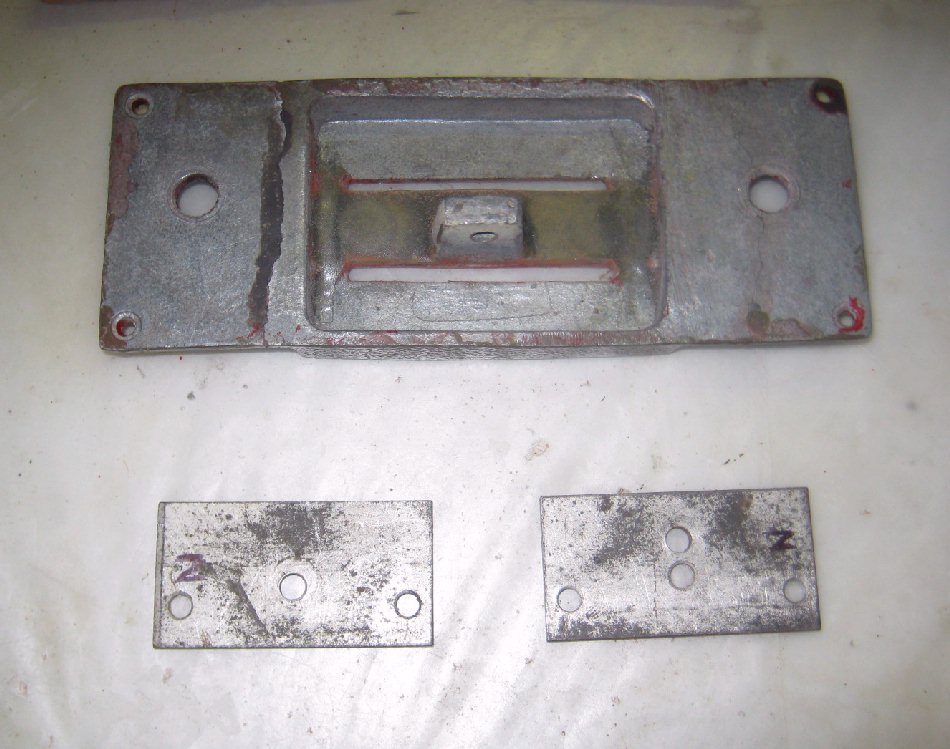
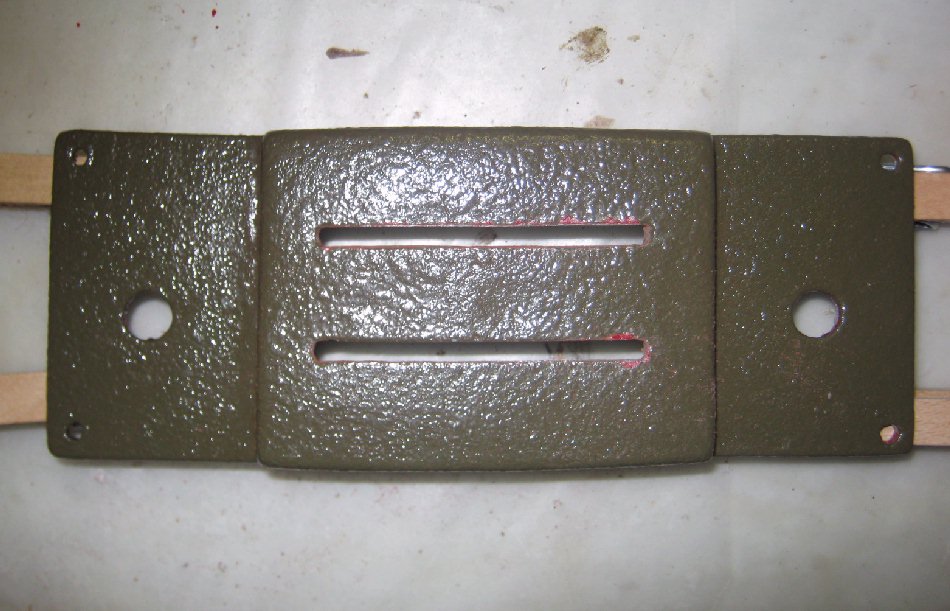
Fit and finish was trimmed unti the pole bars and pot shafts fit their slots and holes: |
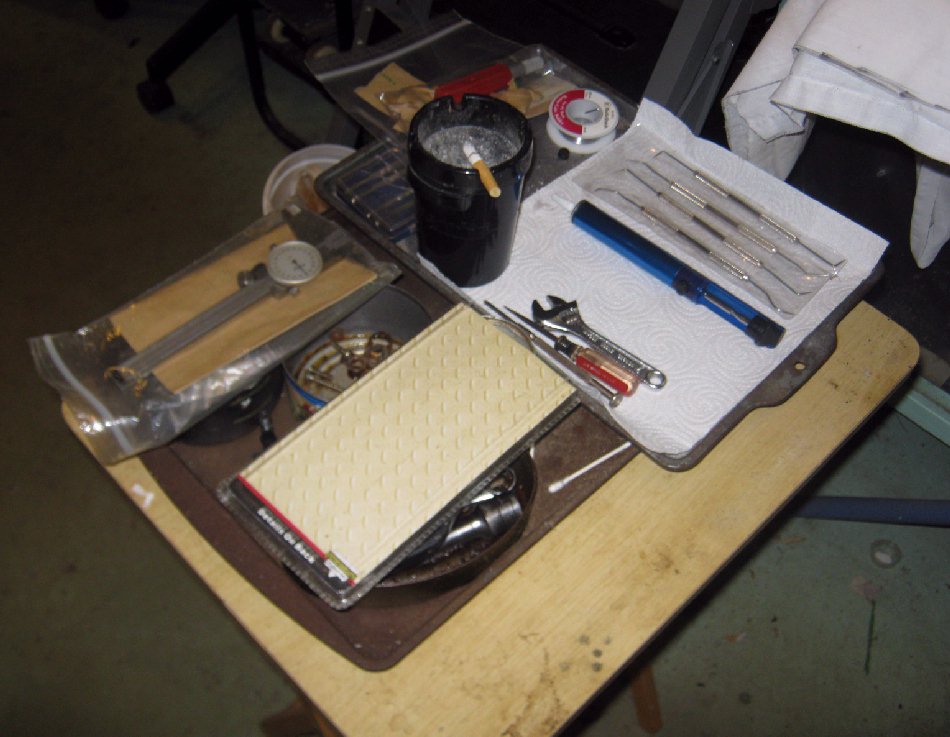
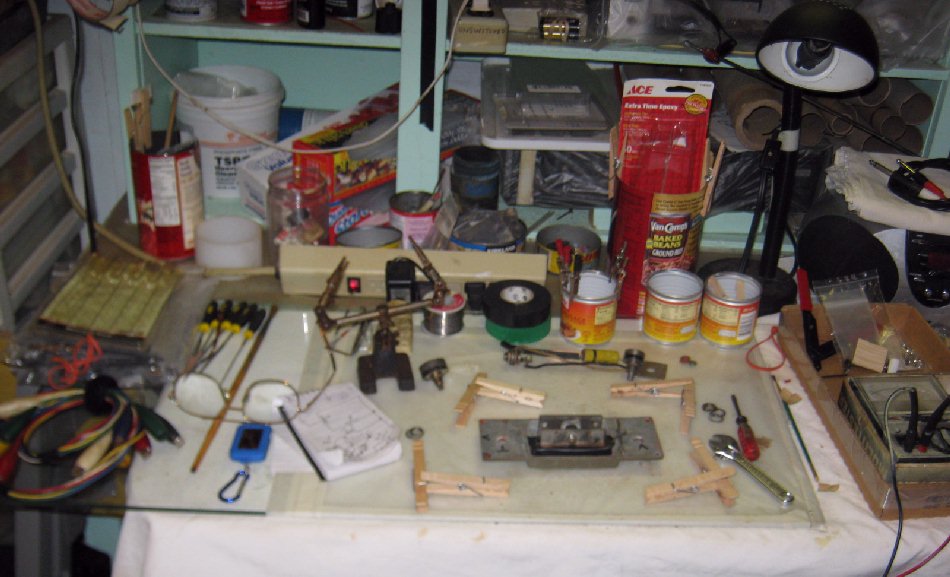
With the slots and holes ready for the pole blades and pots, it's time to start laying out the electronics reassembly parts and tools. Keeping tools laid out to the minimum that is required keeps the work bench from getting cluttered; Keeping work bench clean and uncluttered is an ongoing process for good bench work; Makes the work go smoother and much better. |
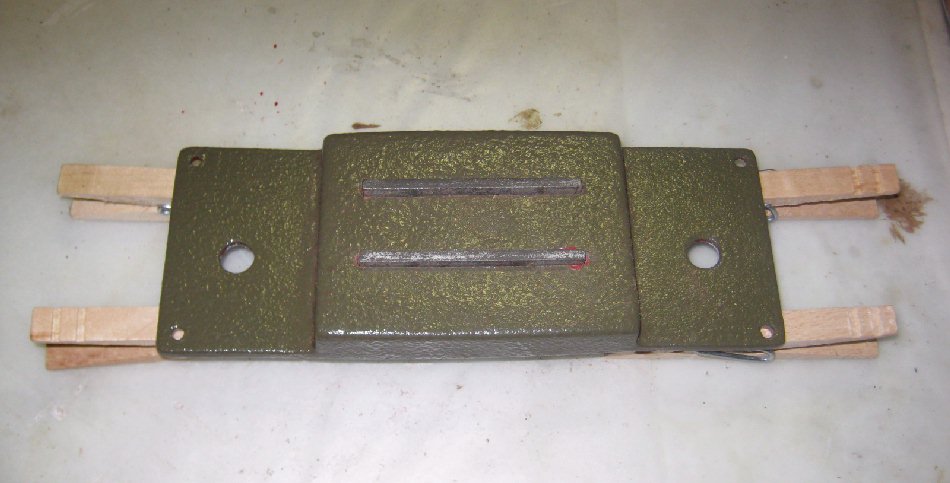
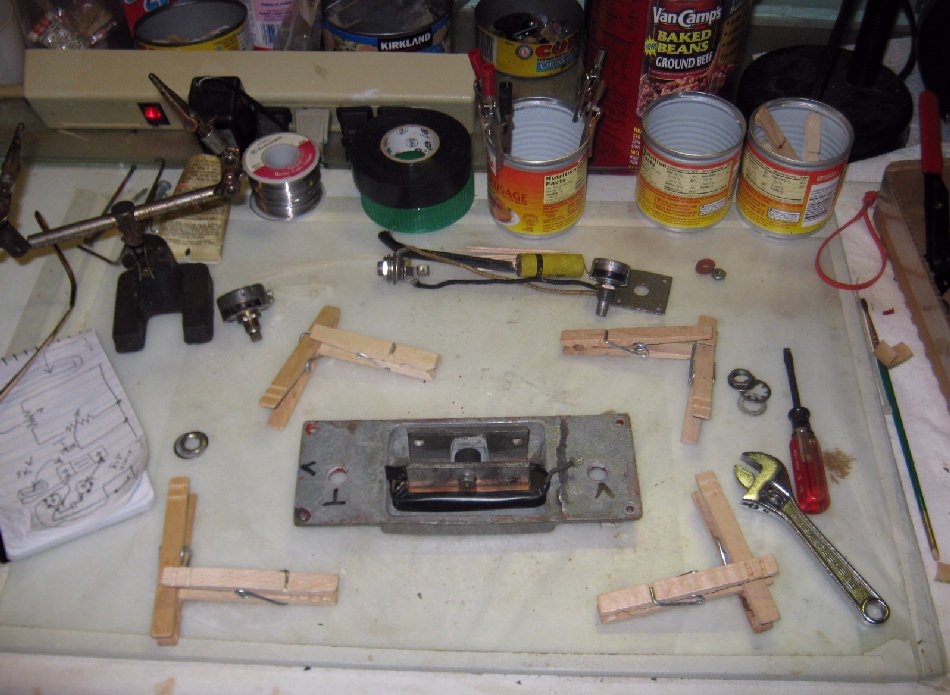
Here we see the P'up coil inserted around 1 pole bar and the other pole bar, screws, washers and rubber shim sleeve check for proper fit. All is well so far. The pot holes and linear orientation is marked on the casing for correct orientation because the casing is turned and flipped in all spacial dimensions during the work; For instance, the schematic is oriented 'top view' while the work step shown in the picture is 'bottom view' and rotated 180 degrees from the schematic: |
See NEXT PAGE for continuing electronics work >>> |
The closespins are riser blocks to jack the electronics casing up to provide clearance for the pole blades to be set in place and checked for fit and trim: |
Pole blades |
The next steps are to secure the electronics parts in place, solder them together, and reassemble the guitar, .....hoping and trusting that encountering 'gremlins' in the guitar will be minimal and easy if any. |