II Page 1 II Page 2 II Page 3 II Page 4 II Page 5 II Page 6 II Page 7 II Page 8 II Page 9 II Page10 II Page 11 II Page 12 II
II Page13 II Page14 II Page 15 II Page 16 II Page17 II Page18 II Page19 II Page 20 II Page 21 II Page 22 II Page 23 II
II This Guitar's Site Map II
Regal Lap Steel
Flamed Maple Veneer Deco
Great Depression - WWII era
Page 17;
Dec. 12, 2010
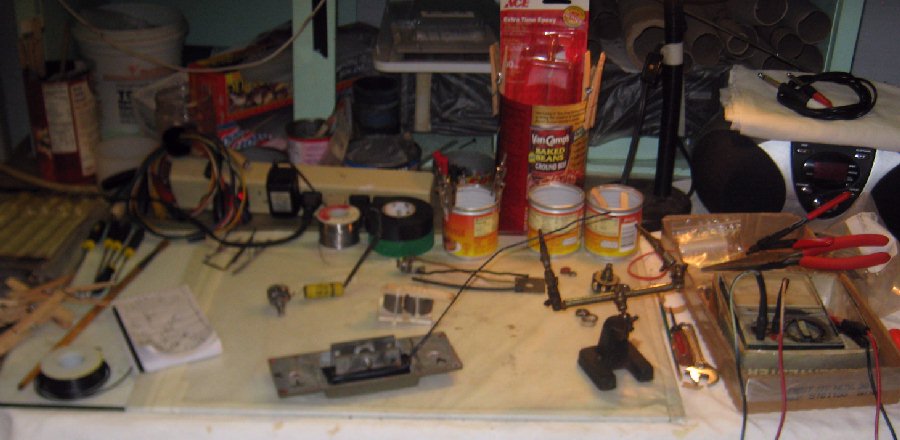
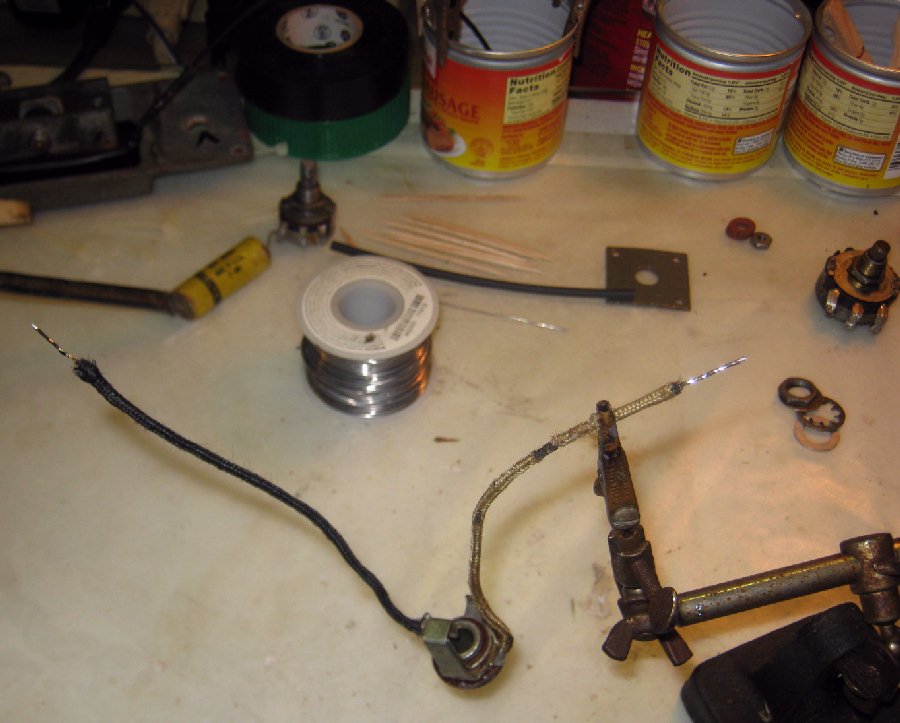
Cleaning, tinning and prepping wires and connectors for rewiring:
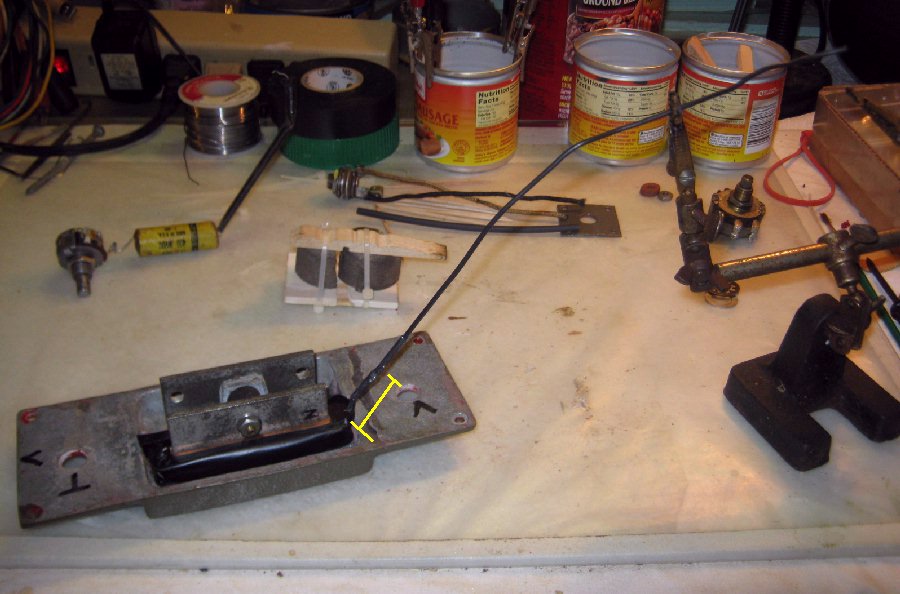
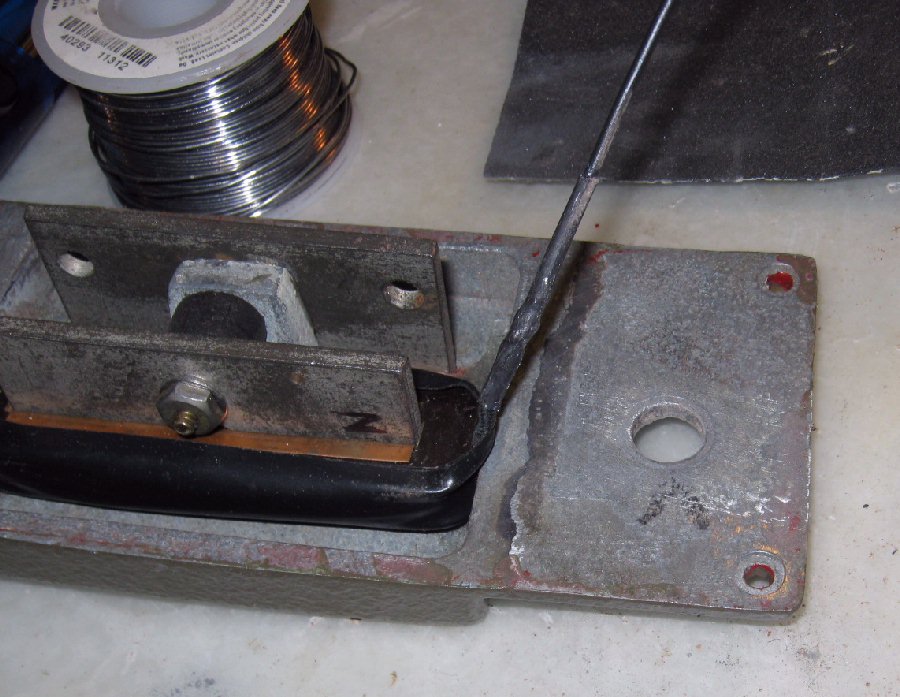
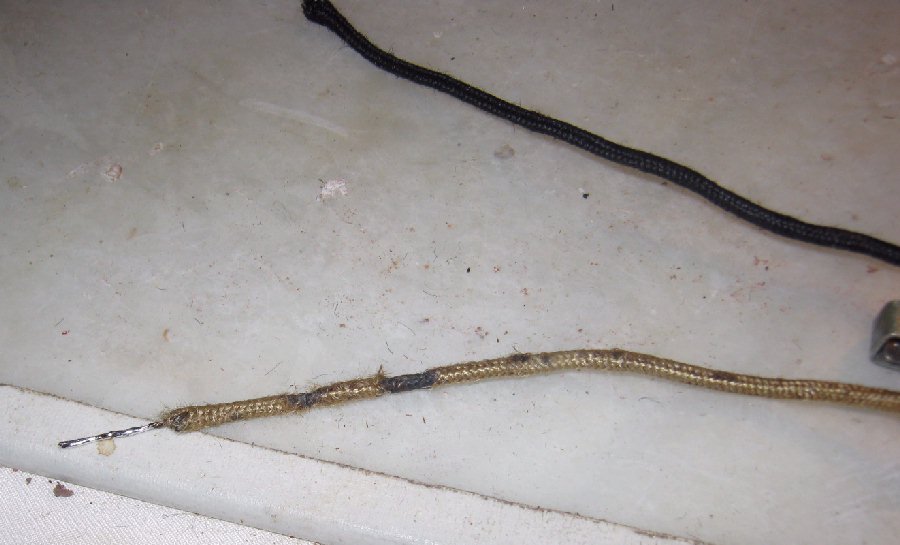
As shown below, the pickup's only lead wire was only about 1.5" long, the wire distance from the pickup to the volume pot. Any further desoldering of that short lead's connection in the future could cause serious / complicated problems if the pickup's short lead were broken in desoldering or handling; So after cleaning and tinning the pickup lead, I soldered about 8 inches of additional lead wire to the original and sealed the joint with a heat-shrink sleeve, so that there will be plenty of lead wire for any need to unsolder the pickup lead in the future.
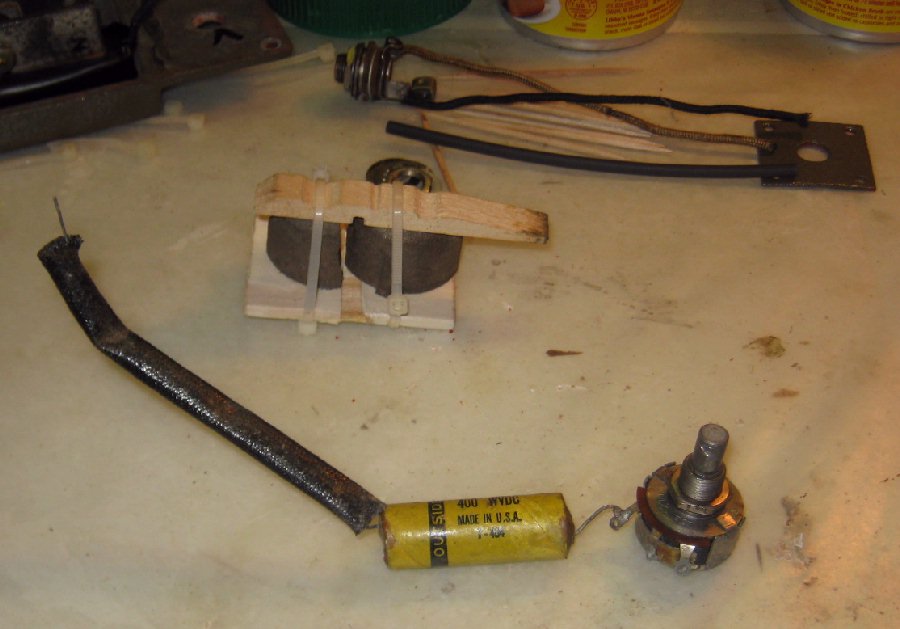
A close-up of the new long pickup lead's strong and heat-shrink sealed joint.
The tone cap circuit connectors cleaned up and tinned:
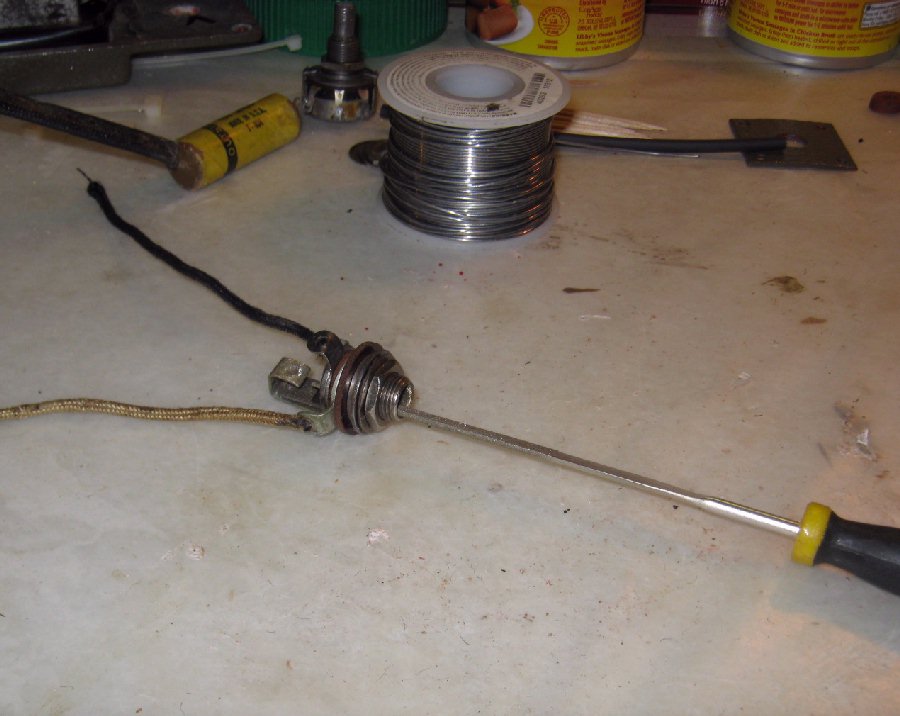
The jack's circuit connections are cleaned and tinned:
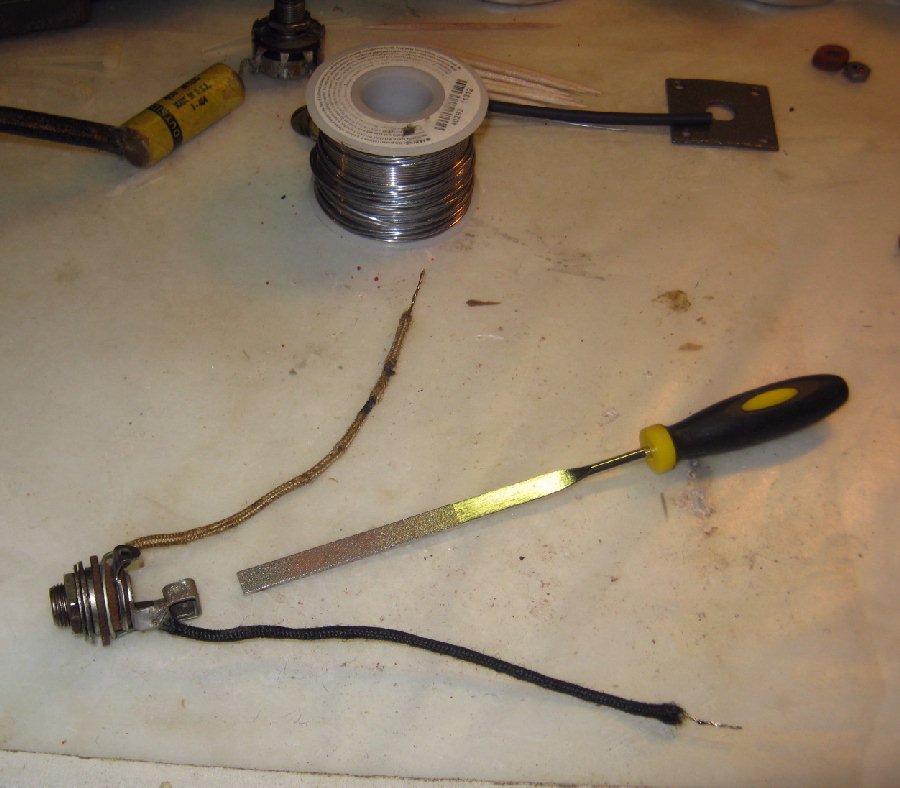
The jack's tip connecting finger and ground sleeve socket are cleaned with fine diamond files, dressed with emory cloth and cleaned with electronics cleaner on Q-tips; A like-new connection:
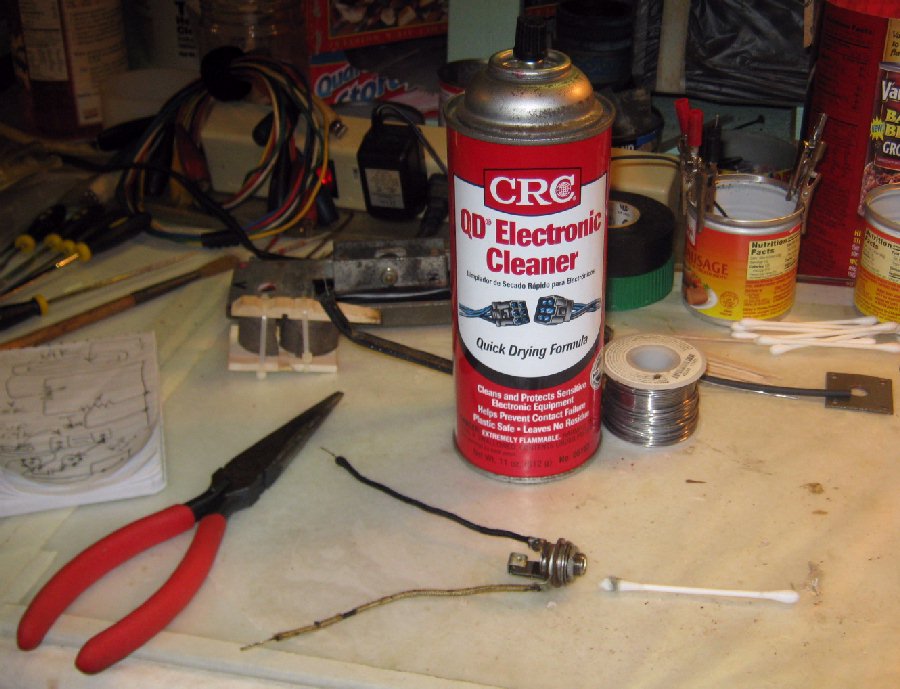
The jack leads had been burned by solder some time in it's past, so a raking with a multimeter's probe wires was done to make sure the synthetic cloth insulator sleeve is still doing it's job well.
See NEXT PAGE for more wiring preps >>>
II Page 1 II Page 2 II Page 3 II Page 4 II Page 5 II Page 6 II Page 7 II Page 8 II Page 9 II Page10 II Page 11 II Page 12 II
II Page13 II Page14 II Page 15 II Page 16 II Page17 II Page18 II Page19 II Page 20 II Page 21 II Page 22 II Page 23 II
II This Guitar's Site Map II