
See NEXT PAGE for update 12-16-10 >>> |
Regal Lap Steel Flamed Maple Veneer Deco Great Depression - WWII era Page 19; 12-15-10; Hooking up and testing pickup assembly: |
See NEXT PAGE for update 12-16-10 >>> |
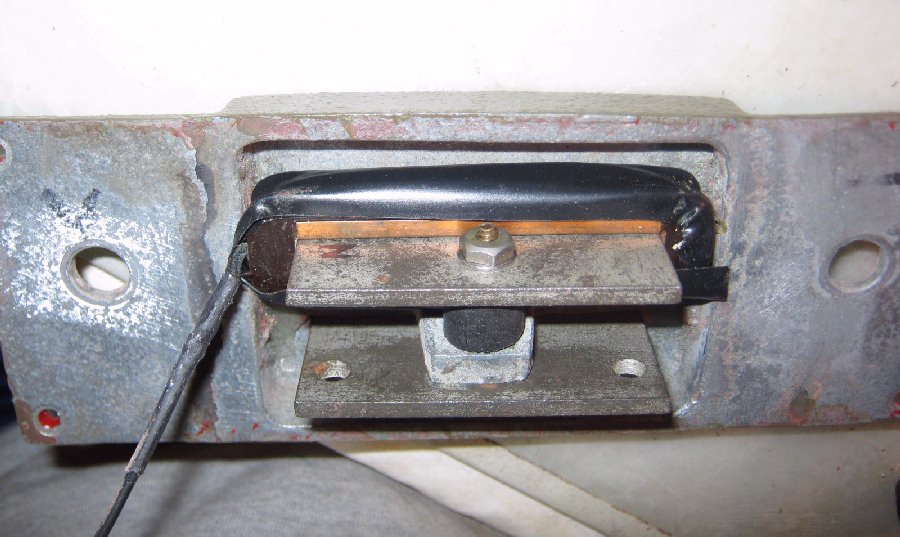
With the blades and coil already installed and the blade's residual charge polarity confirmed; We're ready to install the magnets that have been clamped into a rare earth recharging jig for many months. We have a neoprene washer and spacer; They allow pulling the blades up tight in their slots without risk of cracking the pot metal the casing is made from; The washer / spacer also isolate the pickup coil from the vibrations of the casing which could phase cancel some frequencies; And the washer / spacer keeps the blades from rattling in their slots. |
> |
V |
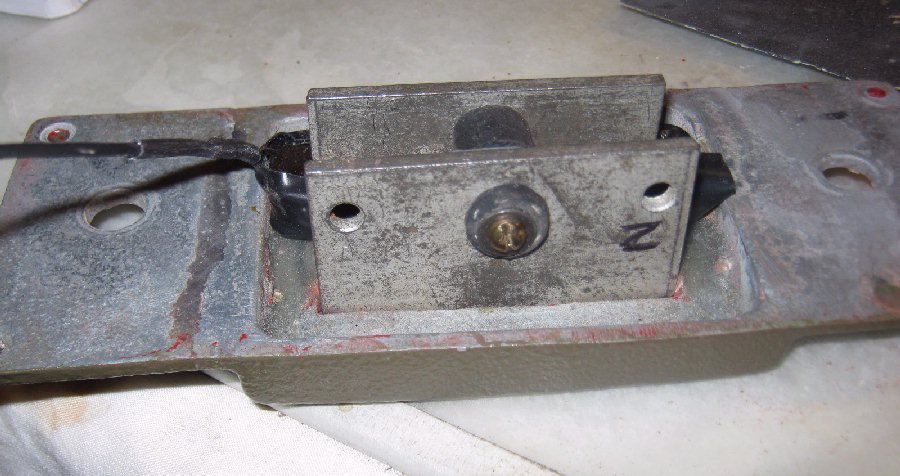
Here's the nut and it's flat washer that's on the other end of the standard-head machine screw: |
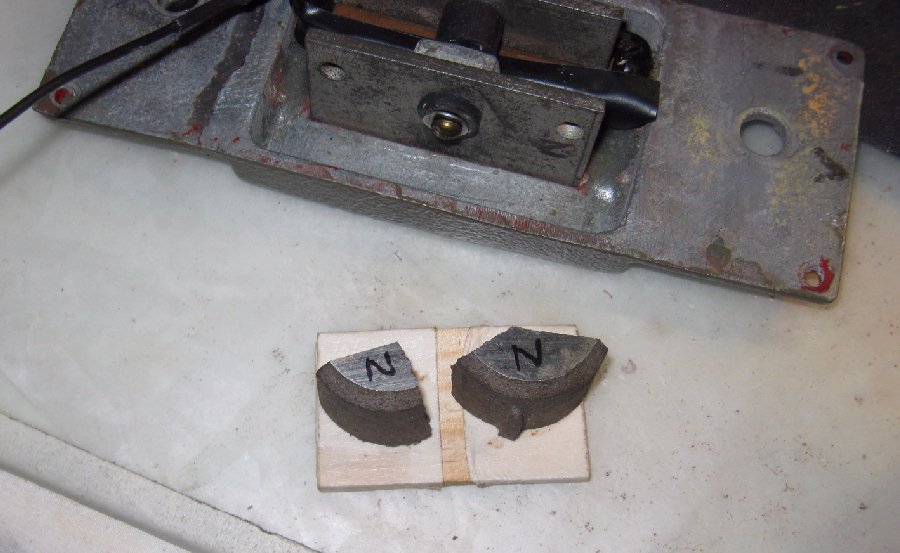
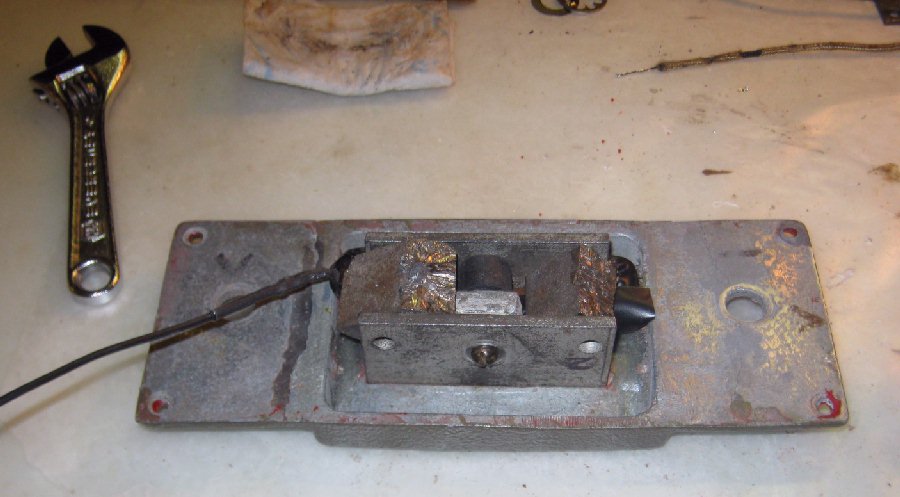
Now we're back to those unusual chunks of military surplus magnets. The larger piece goes on the treble bout side while the smaller piece on the bass bout side; Which evens out the sound by less magnetism on the bass strings higher mass, and higher magnetism on the treble-side strings lower mass: |
Installing the magnets is just a matter of loosening the mounting screw / nut and sliding the chunks into place between the blades, in their correct polarity, although I don't know for sure what the correct polarity is because I had never encountered the way it was before I disassembled the guitar; But no biggie, .....I will test it in both the polarity configurations it was in when I got it, and in the conventional polarity configuration; And I will use the configuration that proves best. |
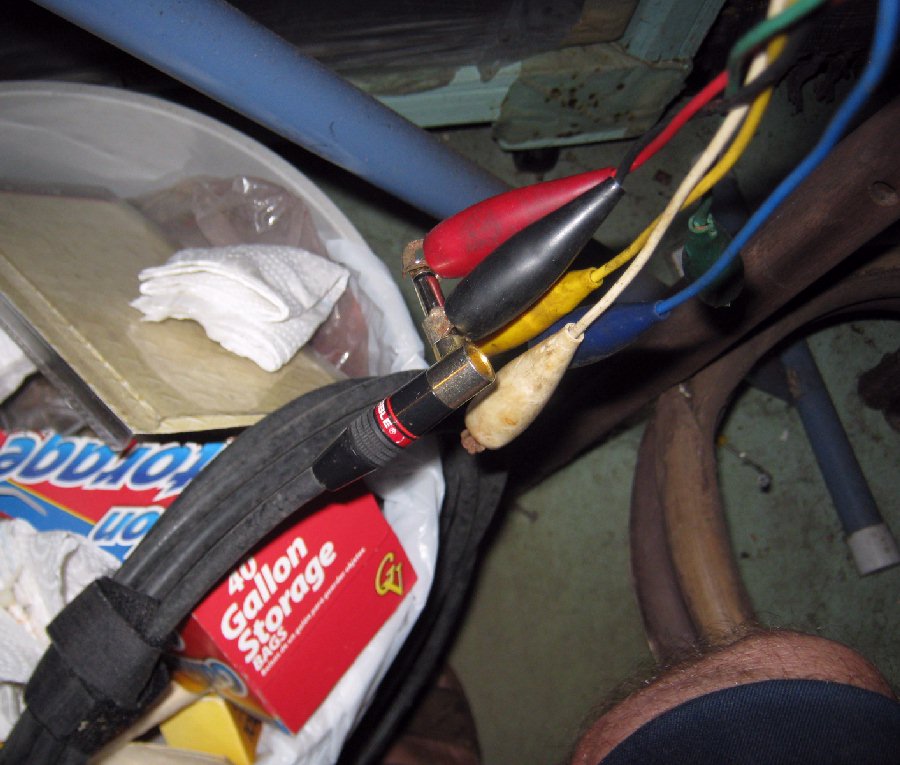
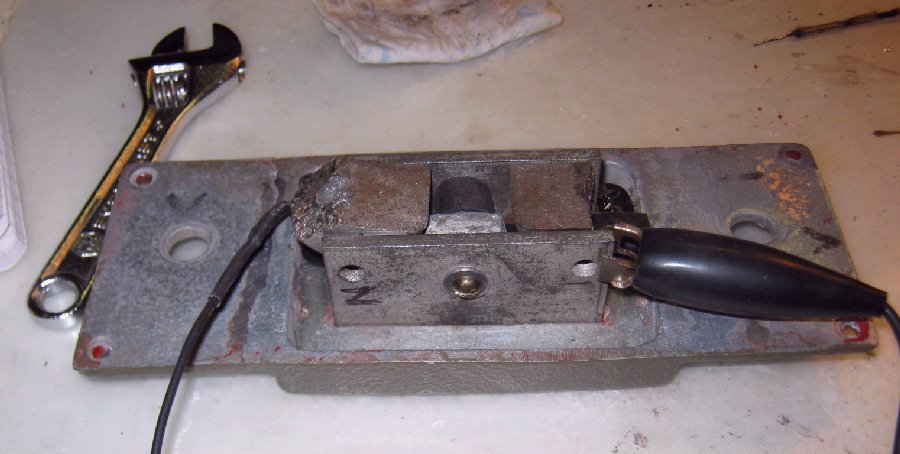
TESTING THE PICKUP WITH AN AMPLIFIER AND TUNING FORK: Only one lead wire comes out of the pickup; It goes to the "hot" side of the guitar's electronics. The pickups "missing" ground wire actually makes contact with the pickup's inner copper sleeve that is snug against it's blade when the pickup is inserted onto the blade. I use a multi-color-coded jumper wires harness to carry the pickup's signal to a standard guitar / amp signal cord. Below we see the jumper cable black wire clipped to the casing / ground. The blades are mounted hard to the casing mounting finger, so blades and the casing all carry ground which is communicated to the amp through the ground wire of the guitar / amp connecting cord. A red jumper wire is clipped to the hot lead of the pickup and on the other end connected to the tip of the guitar / amp / signal / connecting cord. |
Here we see the red and black jumper wires clipped to the tip and sleeve of the guitar / amp signal cord. The other colored jumpers are not connected to anything: |
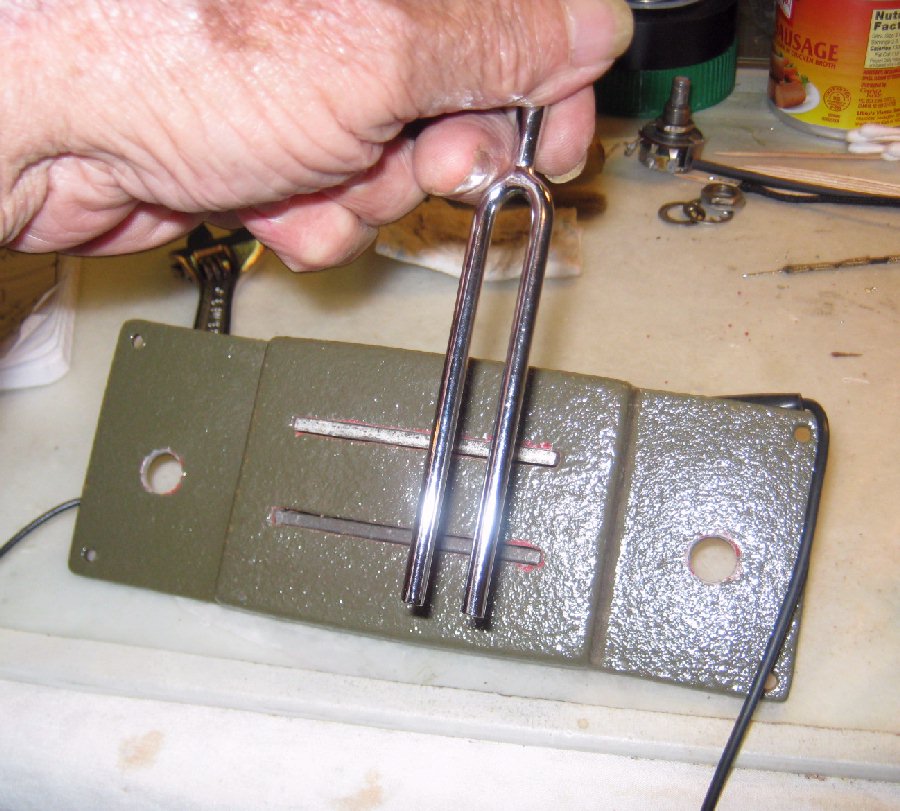
With the guitar / amp connecting cord plugged into the amp's input, the pickup is hooked directly to the amp, and can be tested with a tuning fork which acts upon the pickup just like vibrating strings do. With this method I determined that conventional magnet polarity configuration worked better and louder than the non-conventional configuration on the guitar when I received it. And the volume is quite louder and more robust when the tuning fork tongs are equal distance above the blades. The pickup works like a charm; I will enjoy playing this Steel again, sounding even better than before rejuvenation. |
Black Jumper on case ground. |
Rolled-up guitar cord to amp. |
Red Jumper on pickup "output" lead. |
Right-angle plug. |
Tip |
Sleeve |