
See Next Page; Repairing pickup cover's broken screw hole corner >>> |
Regal Lap Steel Flamed Maple Veneer Deco Great Depression - WWII era Page 7; Electronics Housing Epoxying, Continued. |
See Next Page; Repairing pickup cover's broken screw hole corner >>> |
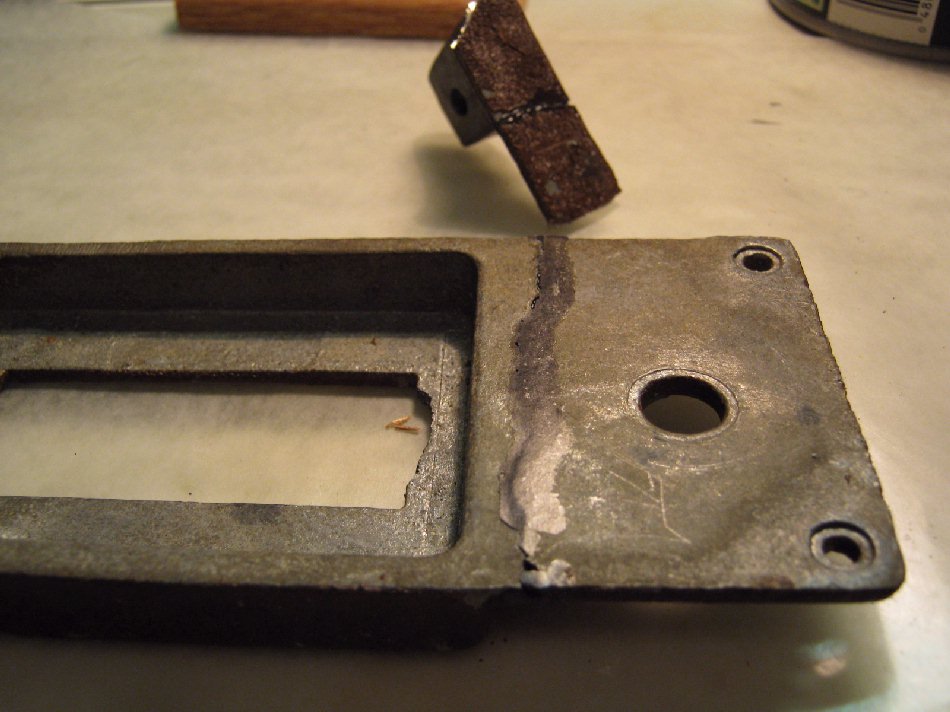
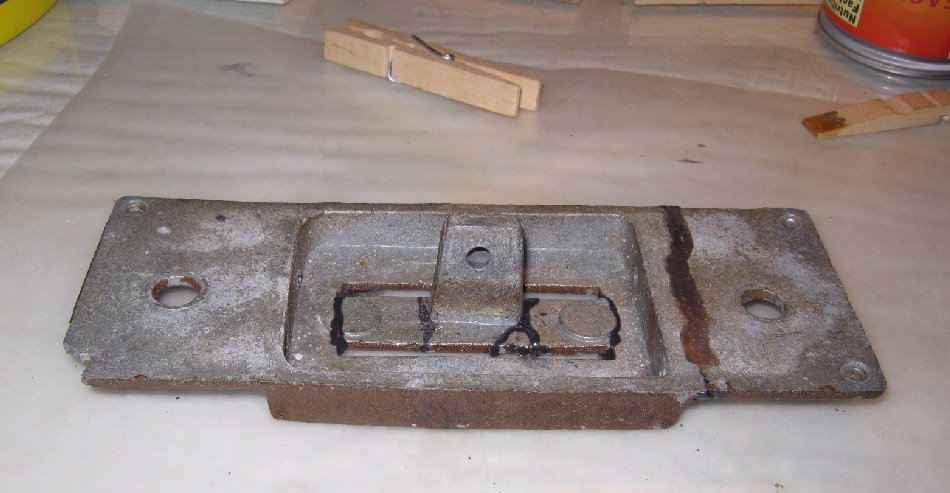
Notice the smooth joint, from laying on the glass and wax under nominal pressure while the glue dried. It's texture quite well matches irregularities in the plate's original molding. |
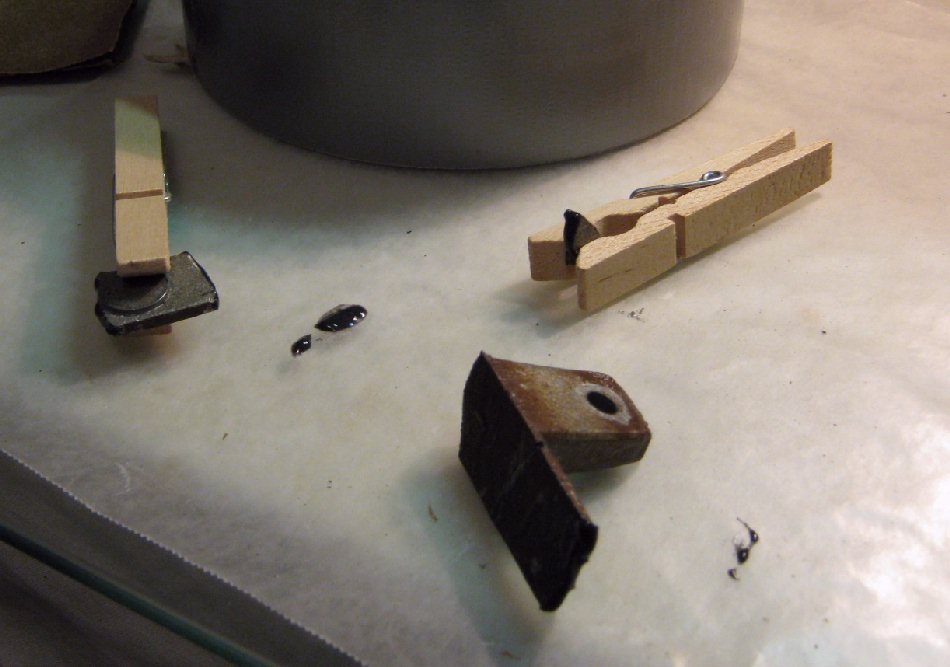
Here's holding pieces with wet epoxy on their joints. Here we see the benefits of the wax paper catching drips, smears, etc; When finished, wad it up and throw it away, leaving the glass clean and slick as a whistle. |
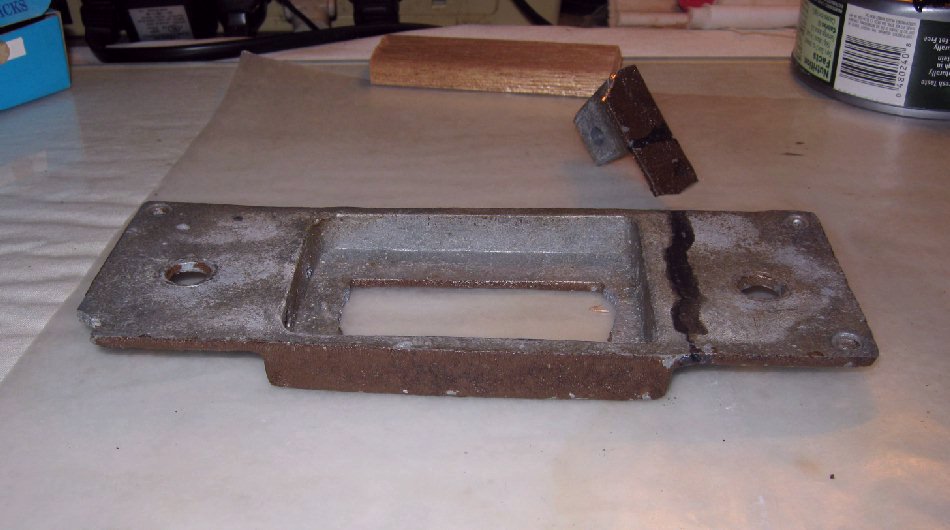
The newly glued and wet pieces set into place. |
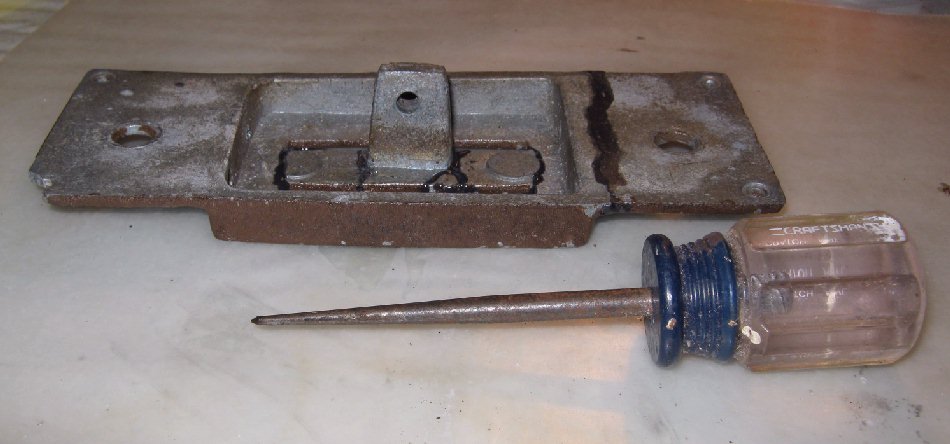
A very handy tool to nudge wet-glued pieces into exacting position. A tool having some mass works better than a light tool, to ever-so lightly tease pieces into exacting alignment. Hold the tool in the writing hand while stabilizing the shaft movement with the tip of the index finger of the other hand. A similar sized screw driver would work but wouldn't have the very handy pointed tip to reach into tight places. |
Here small tabs of wax paper are pressed into the joints epoxy to create a smooth joint like the one previously glued and dried. |
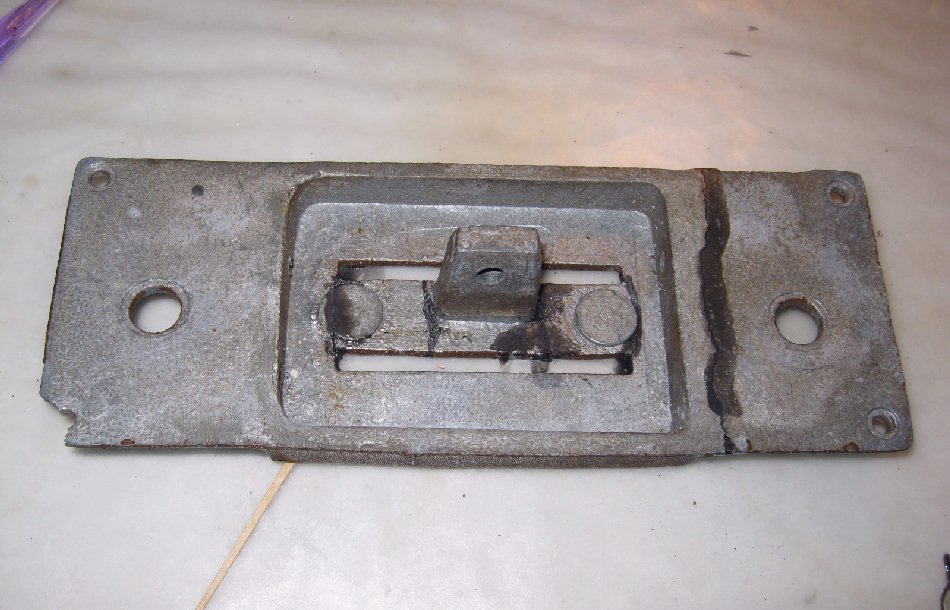
And here's those joints dried, wax paper removed, joints nice and smoothe. |
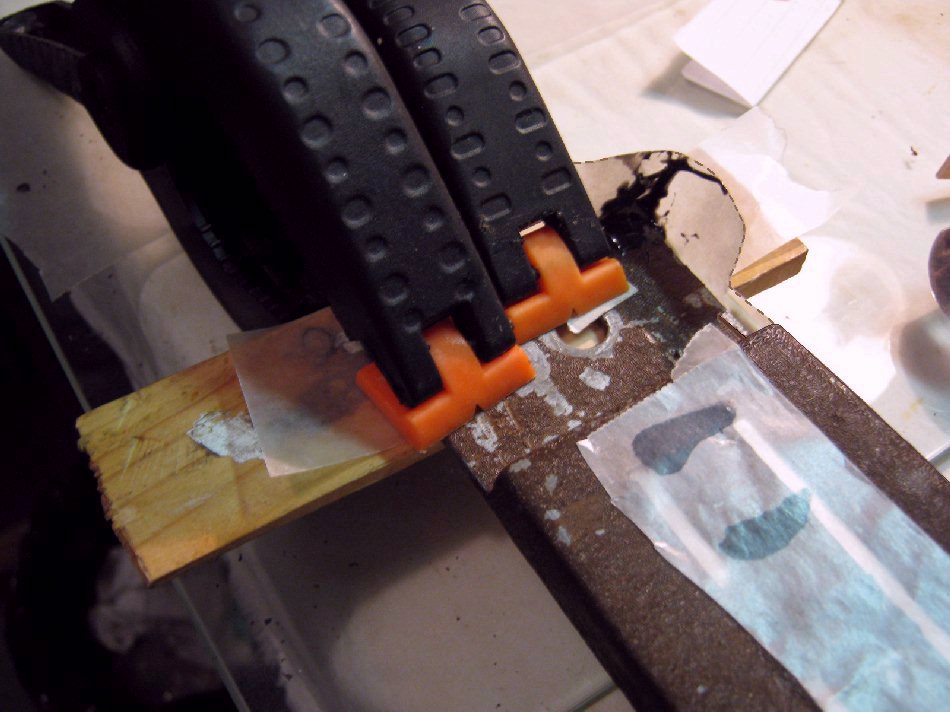
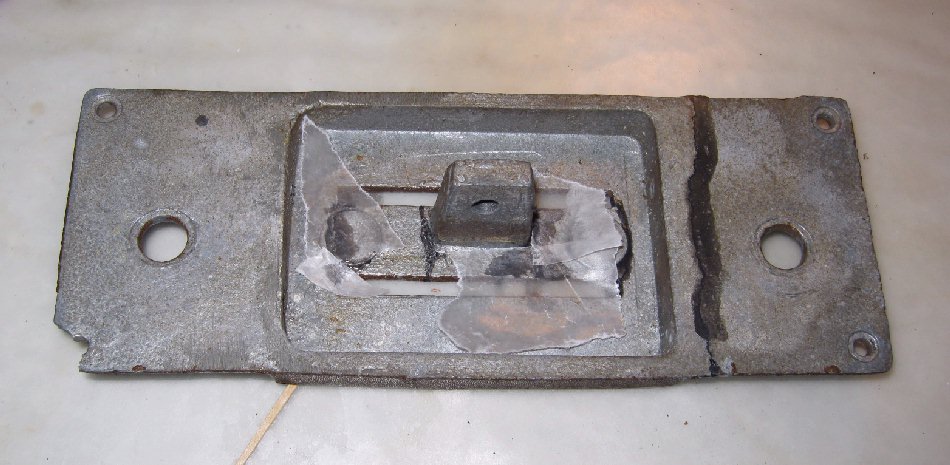
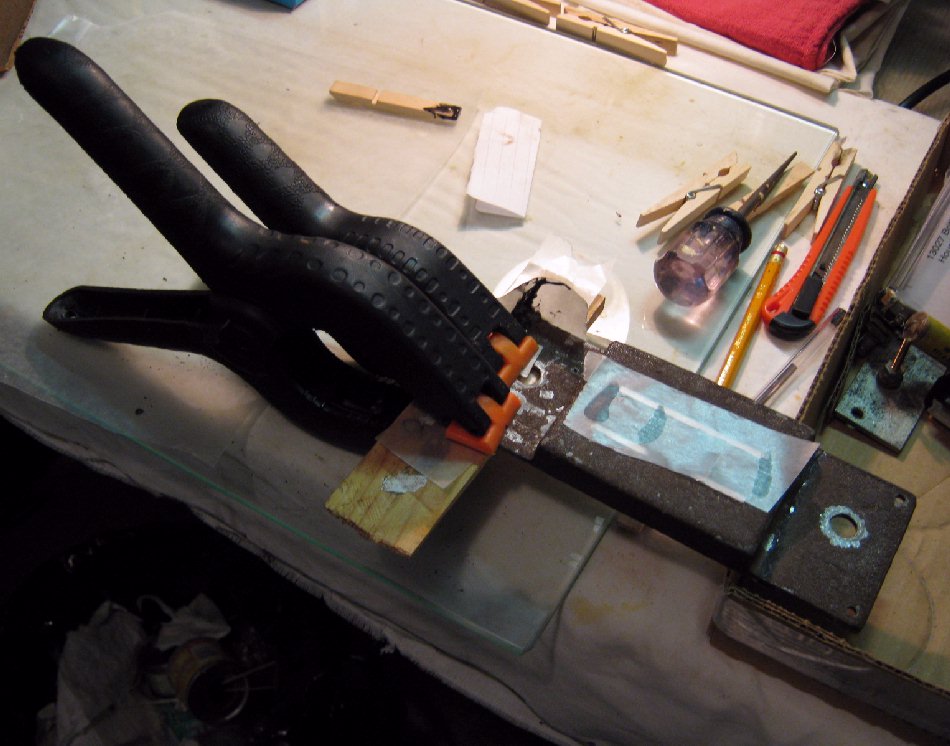
A flat surface piece is clamped to the bottom of the electronics plate ear, ...with a strip of wax paper between the flat surface piece and the plate. A masking tape wall / dam / mold (see dotted line) was made to hold new epoxy in place that will become the corner of the plate ear that was broken off and missing. That corner will be nice and flat on the bottom due to the wax paper on the flat piece, and the top and sides will be sanded down and textured to finish the corner. Wax paper was also applied to fresh joints to mash them down prior to removing the wax paper and texturing the joints when the epoxy got stiff but still soft. |
The opposite ear is propped up level so the other corner's wet epoxy will dry level. |
Previously glued & dried housing ear joint. |