THESE CUSTOMER INFORMATION PAGES ARE UNDER CONSTRUCTION
2 circuits already soldered onto their lugs. I'll show the last soldering on this page:
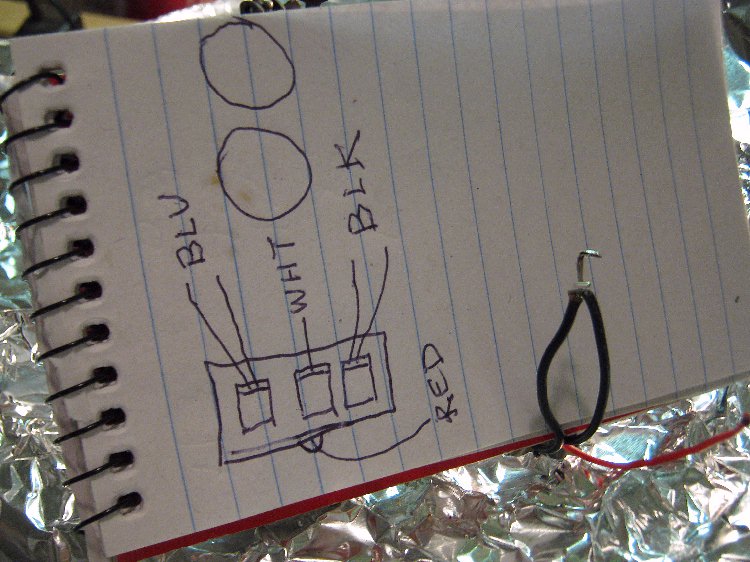
After tinning the bent-tip straight wire (priming with solder), wrap the other wire around it as tight as feasible. With some flux and minimal solder, very carefully solder the wrapped wire onto the base of straight wire making sure the straight wire and it's hook doesn't receive very much if any new molten solder which would make the wire too fat to go into the switch lug's hole. (The notebook is just so you can see the wire that would otherwise "disappear" against the aluminum foil background):
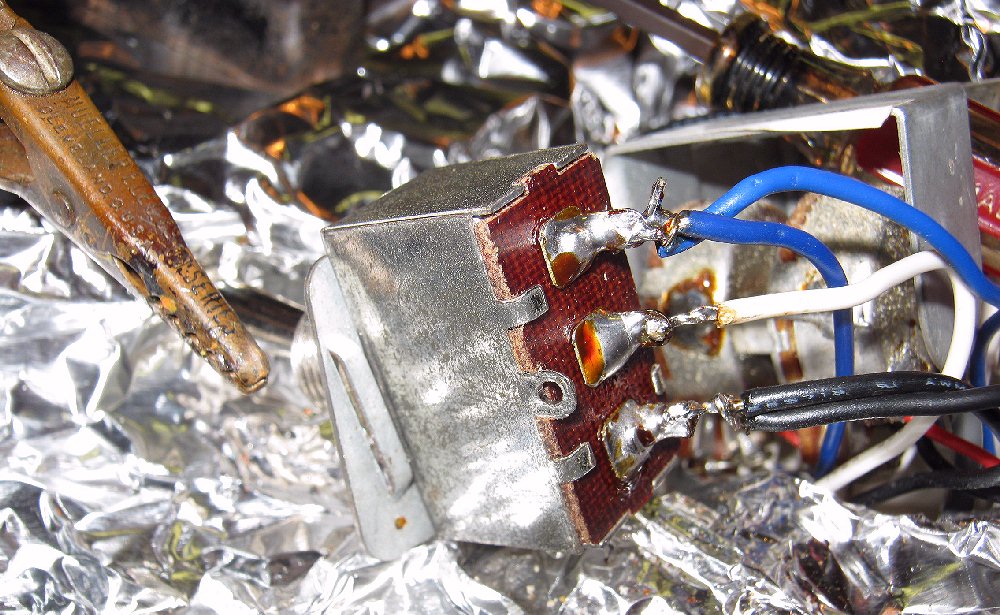
Another view of the twisted on wire's soldering to the straight / hooked wire:
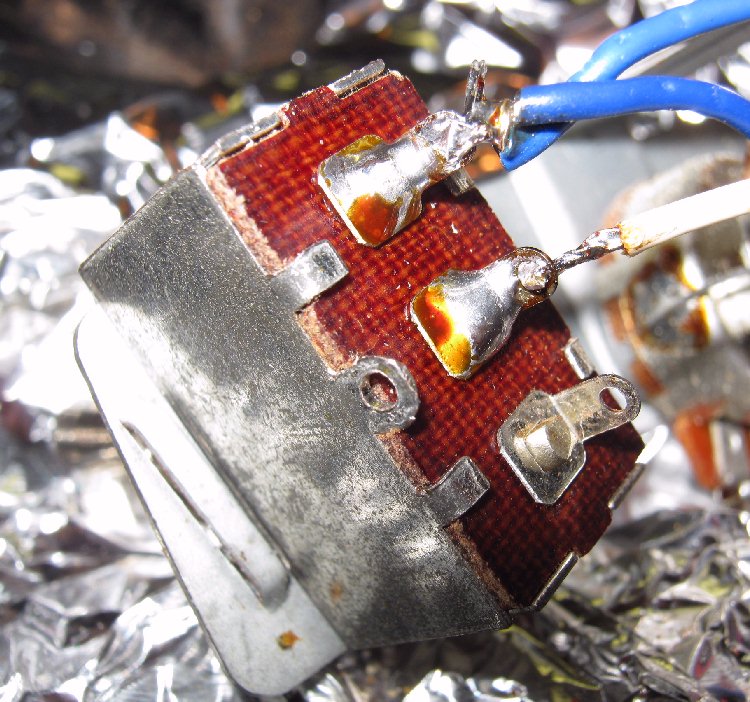
Hook the straight wire into the switch lug and apply a very small amount of solder to seat the wires into the hole & lug. A fuller drop of solder can then be applied to make a good solder joint like the other 2 lugs.
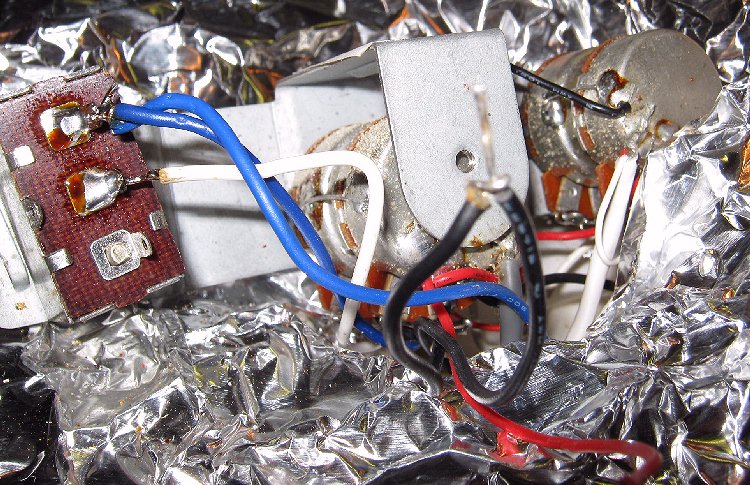
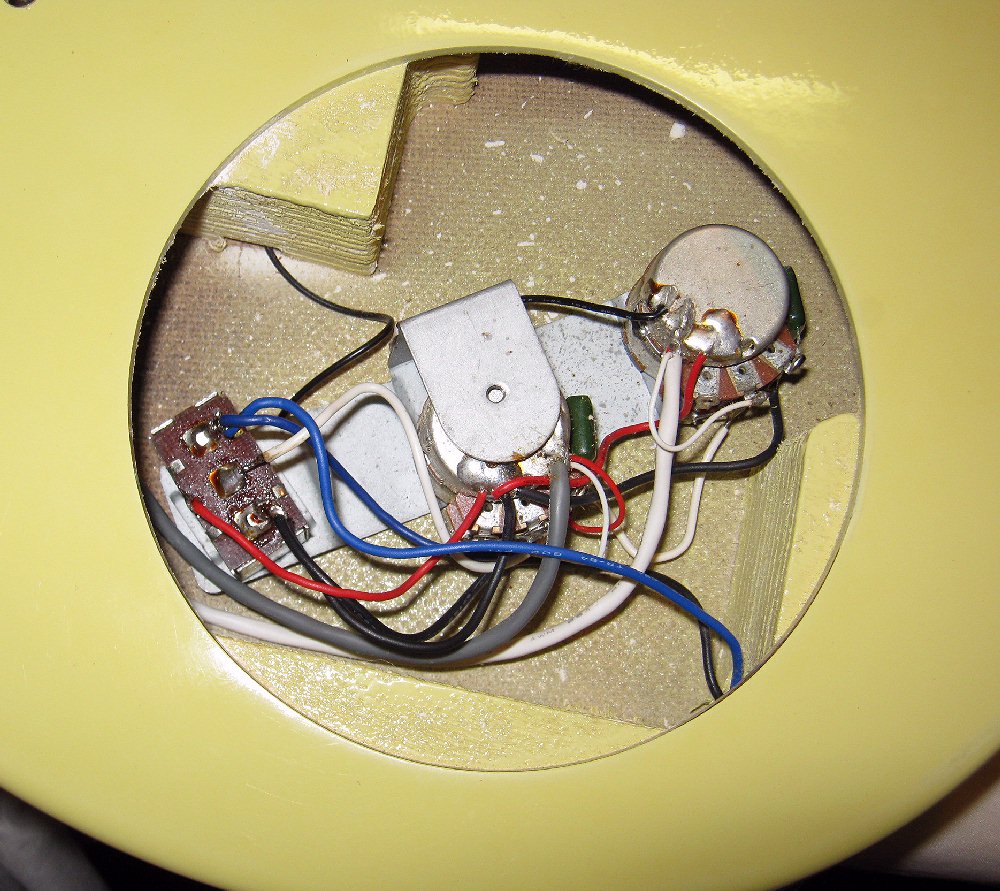
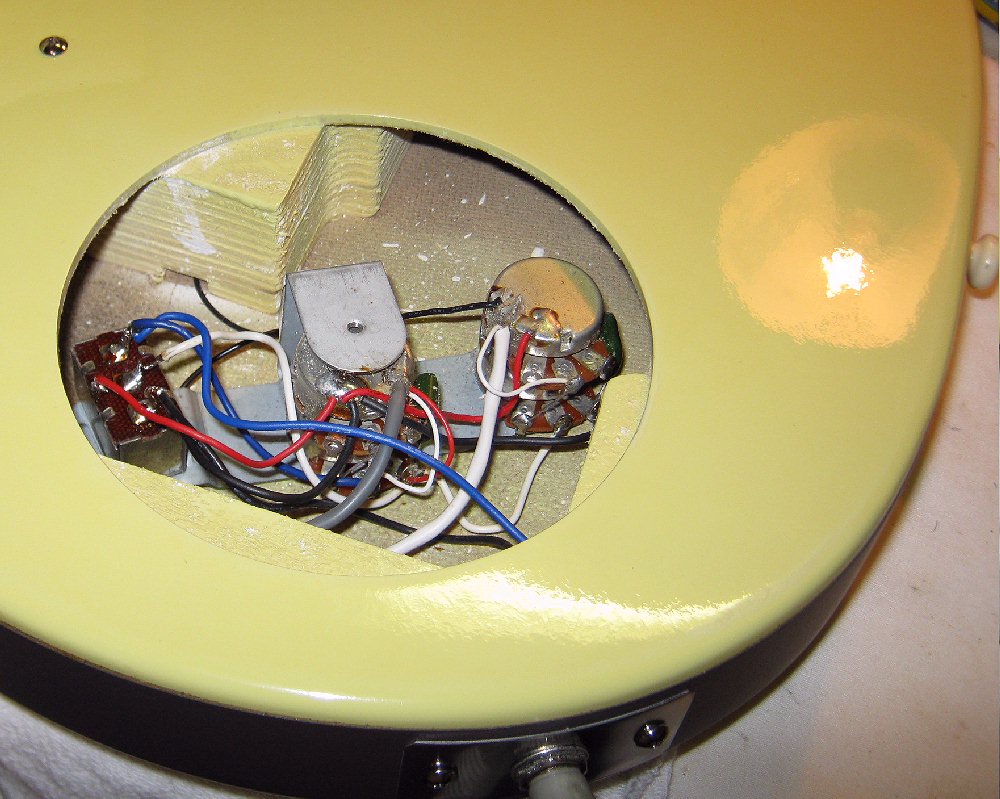
Here the wires are all soldered to the new switch and the new switch bolted to the harness plate and the whole assembly reintstalled into the guitar ....without so much as even a minor mark on the guitar. The white overspray and flakes in the guitar are the factory spray-on polish and it's flakes that fly off when the outer surface is rubbed out polished.
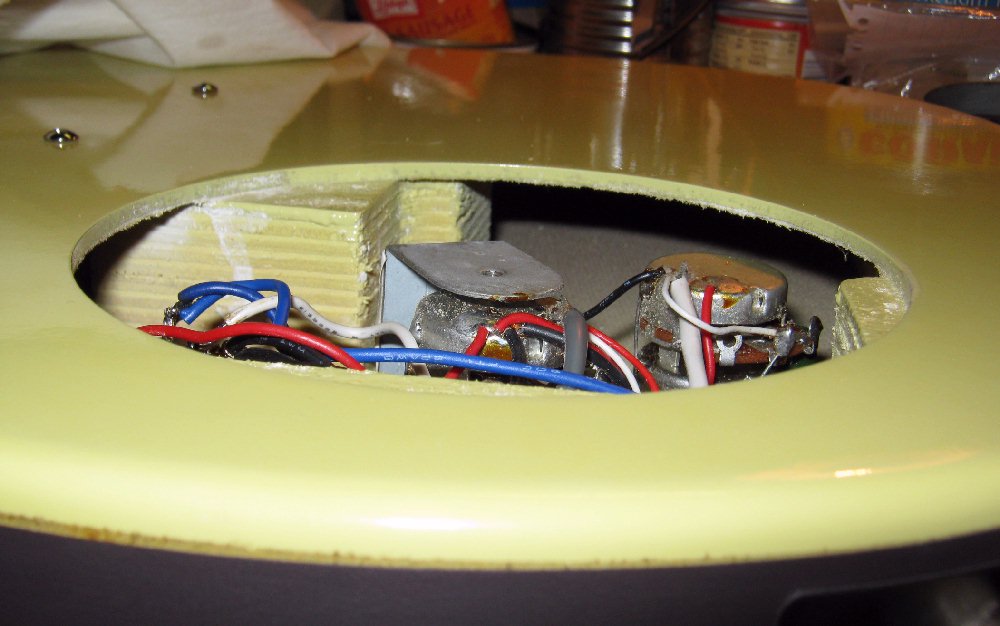
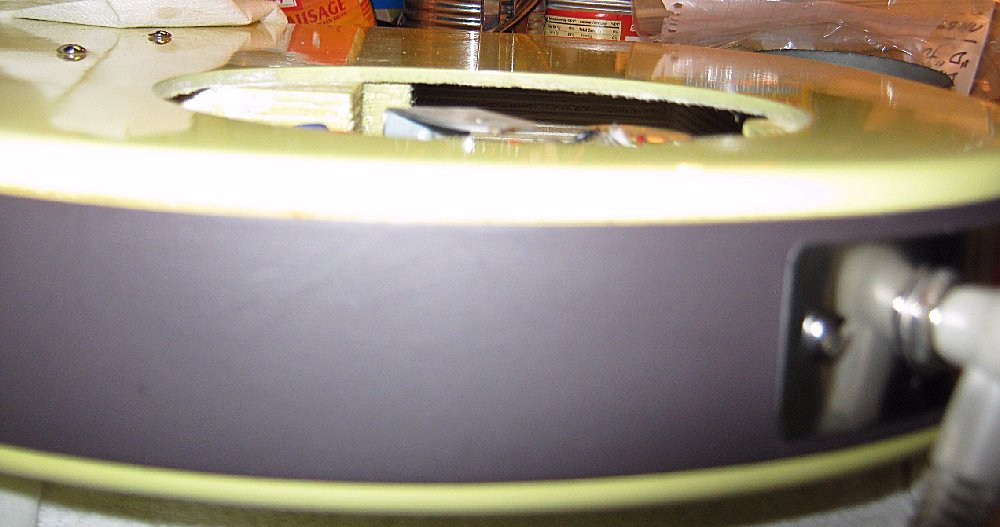
The wires have to be carefully & gently tucked in below the body back before the cavity cover is screwed on.