Kawai / Teisco
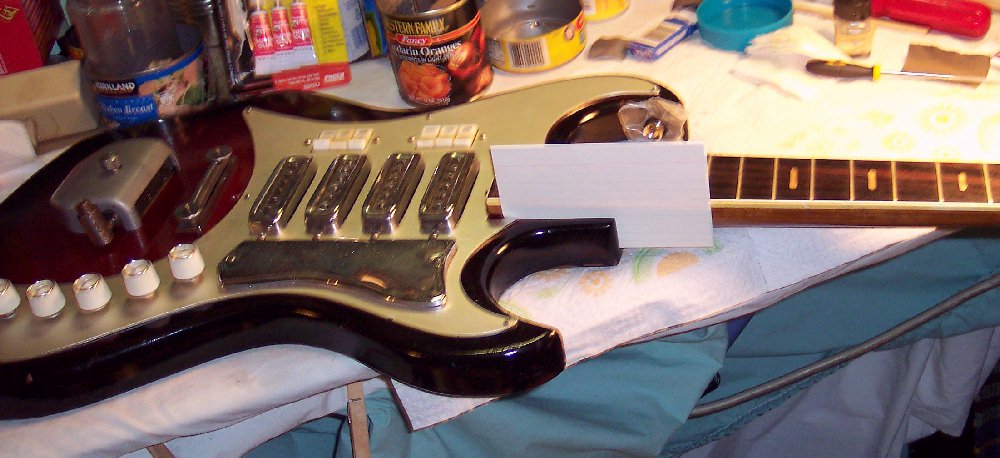
4 "nuclear" Teisco pickups; 6 Rocker Switches; Sophisticated circuit.
Pictures and info 7-20-08
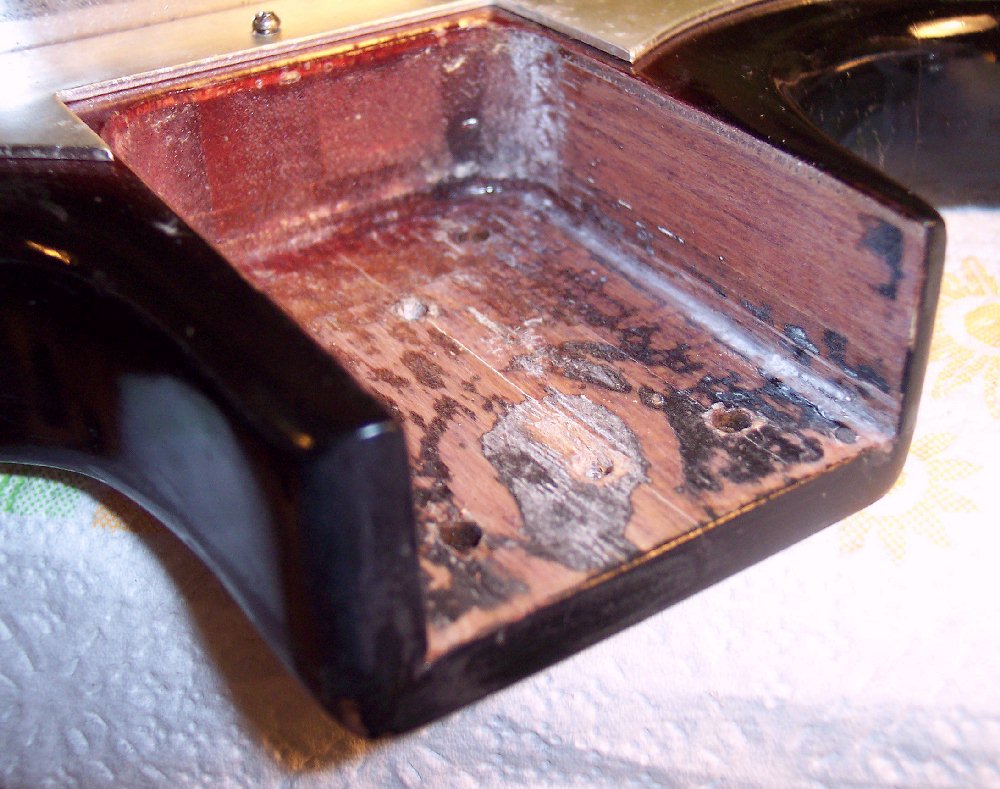
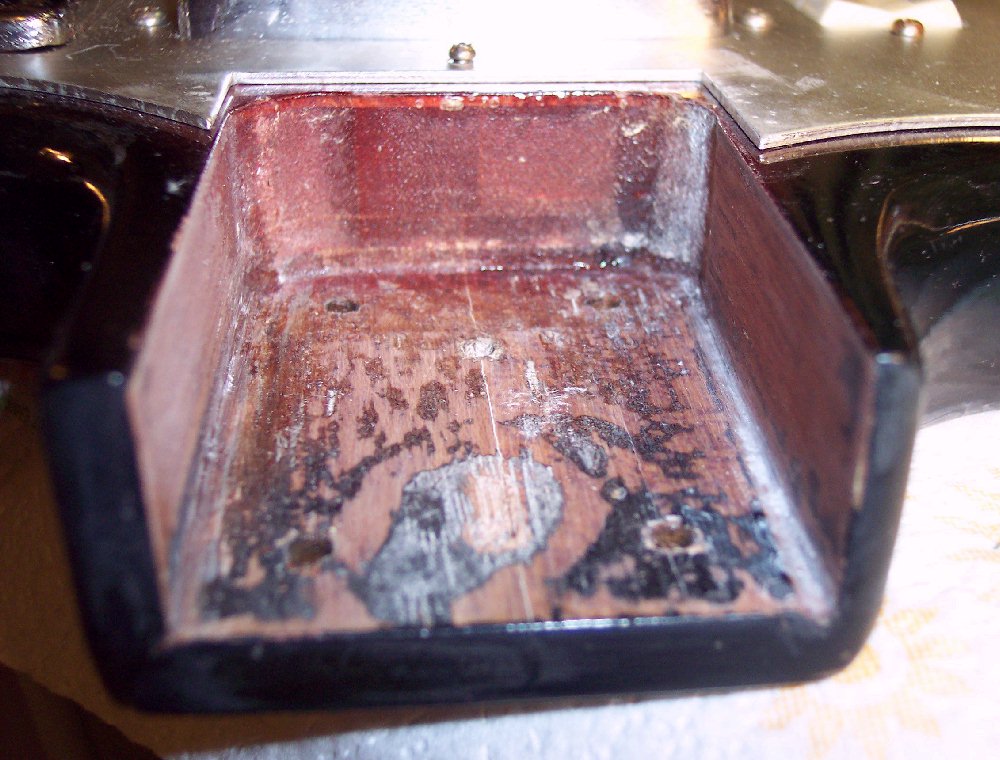
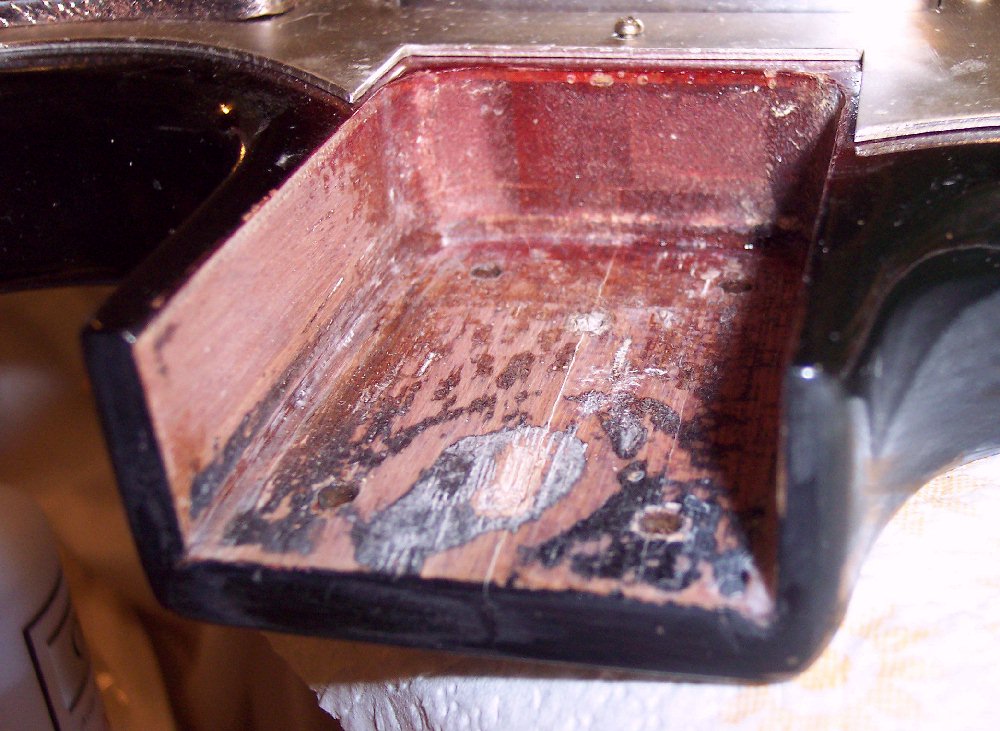
~~~ Neck Pocket Gauged and Planed ~~~
In preparation for reinstalling the neck, a thin piece of paper rubbed with chalk is inserted into each surface of the neck pocket and then the neck set in and then removed. Any high spots on the pocket surfaces are thus marked by the chalk powder.
It is then just a matter of sanding high spots on each surface flush with that pocket surface. The sanded high spots in the next 3 different views are the spots where the original finish overspray is sanded away. The wood was sealed before being painted at the factory and presents no problem sanding it down., which the factory themselves did to a nominal degree. The pocket now fits the neck to a much finer degree than original. A good neck / pocket fit, especially on the bottom surface, will conduct the strings > bridge > body > neck > nut > strings acoustic sound loop much better than a "sloppy" neck / pocket fit.
Notice that there is some black finish removed from the pocket front edges. These will be touched up with the rest of the cutaway horns inside paint touch ups (wrong lefty strap button, correct strap button capping, etc.).
Top Views From Bass Bout angle.
And a side page:
Backside Views.
Top Treble Bout Angles and Neck Views.
BLANK.
Disassembled and Layout Preparation Views.
Pickups / Electronics Harness Views.
Pickup and Rocker Switch Internal Details.
Schematic and circuit logic.
And a side page:
More views of electronics, Neck, Headstock and Truss Rod access.
Truss rod access screw hole repair.
Preliminary Assembly 1.
Preliminary Assembly 2.
Neck Joint screw holes refurbish.
Neck pocket gauged and planed.
Taping, masking and touch-up painting inside of cutaway horns.
Noteworthy work in reassembly & set-up.
Guitar Finished
Work needed / suggested, work done, work I will do.